Many, many years ago, in a video forum far, far away, I had a ‘robust’ discussion with a person I’ll call ‘Gary’, because that was his name. Gary argued the ‘Rule of 3rds was a hard and fast rule that had to be followed to get the best images, no matter video or still.
My stance was that the Rule of 3rds is not a rule at all, but a guideline, citing one little know director called Stanley Kubrick who famously rarely, if ever used it, instead preferring the focal point of an image to be dead centre.
Be that as it may, the Rule of 3rds IS a useful guide to follow but going by a lot of the images and videos shown in various GoPro, drone and other forums, is probably not as well-known and understood as it should possibly should be.
So, what exactly is the Rule of 3rds?
To quote the Digital Photography School who put it best, “the rule of thirds is a compositional guideline that breaks an image down into thirds (both horizontally and vertically) so you have nine pieces and four gridlines. According to the rule, by positioning key elements along the gridlines, you’ll end up with better compositions”.
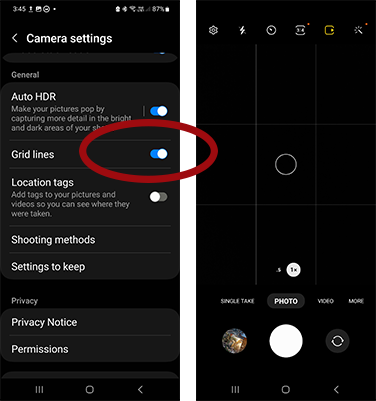
To see it in action, place a 3 x 3 grid over your image (many cameras and camcorders etc actually have this option built into the Display settings of the menu system. It is usually called a Grid Overlay. To create an overlay in Photoshop, choose Preferences > Guides, Grid & Slices. Set the “Gridline Every” to 100% and the “Subdivisions” to 3).
The idea is to create a pleasing balance to the image. For example, in the image above, putting the red tree to the left of the photo is far more interesting than if it were in the middle. Note I have emphasised the vertical line to show how it also runs through the approximate centre of the red tree.
The centre points of intersect of the vertical and horizontal lines are sometime called “power points’ and are also useful to emphasise points of interest in an image, such as an animal’s eyes.

This second image, shows a landscape with the focal point also being placed at an intersection of the horizontal and vertical gridlines. Additionally, I could have shot this image with the horizon line along one of the horizontal lines to make an even better shot.
Now as mentioned, as important (and simple) as the Rule of 3rds it is, again I stress it is NOT a fixed rule, just another item in the toolbox of image creation.
Main Image:
Autumn in Manjimup in the South West Forests of Western Australia. Shot with Canon 5Ds