Far back in distant time I had a freelance gig in Perth photographing cars in used car yards. These photos were used in the yards’ weekly newspaper ads – remember them?
Maybe not.
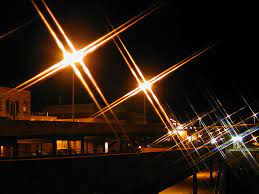 Anyway, one of the tricks I used to make the vehicles look more interesting was to put a star filter on the camera I used. As the name suggests, this emphasised any point of reflection off the car body or glass into a 4 point (or 6 point) star depending on the filter that was used.
Looking at various newsgroups lately, especially drone photography and GoPro oriented ones, there seems to be a lot of confusion about filters, and where they fit into the scheme of things. So here is a breakdown of the basic types and when to use them (and when not for that matter).
But first, what is a filter and how are they used.
Generally, filters are screwed onto the lens at the front of the camera. If you look closely, most cameras have a thread in the lens of a specific value, and you get filters that match this thread size. Another type, such as marketed by Cokin, have a filter holder that screws into the lens and allows a number of filters to be added at once.
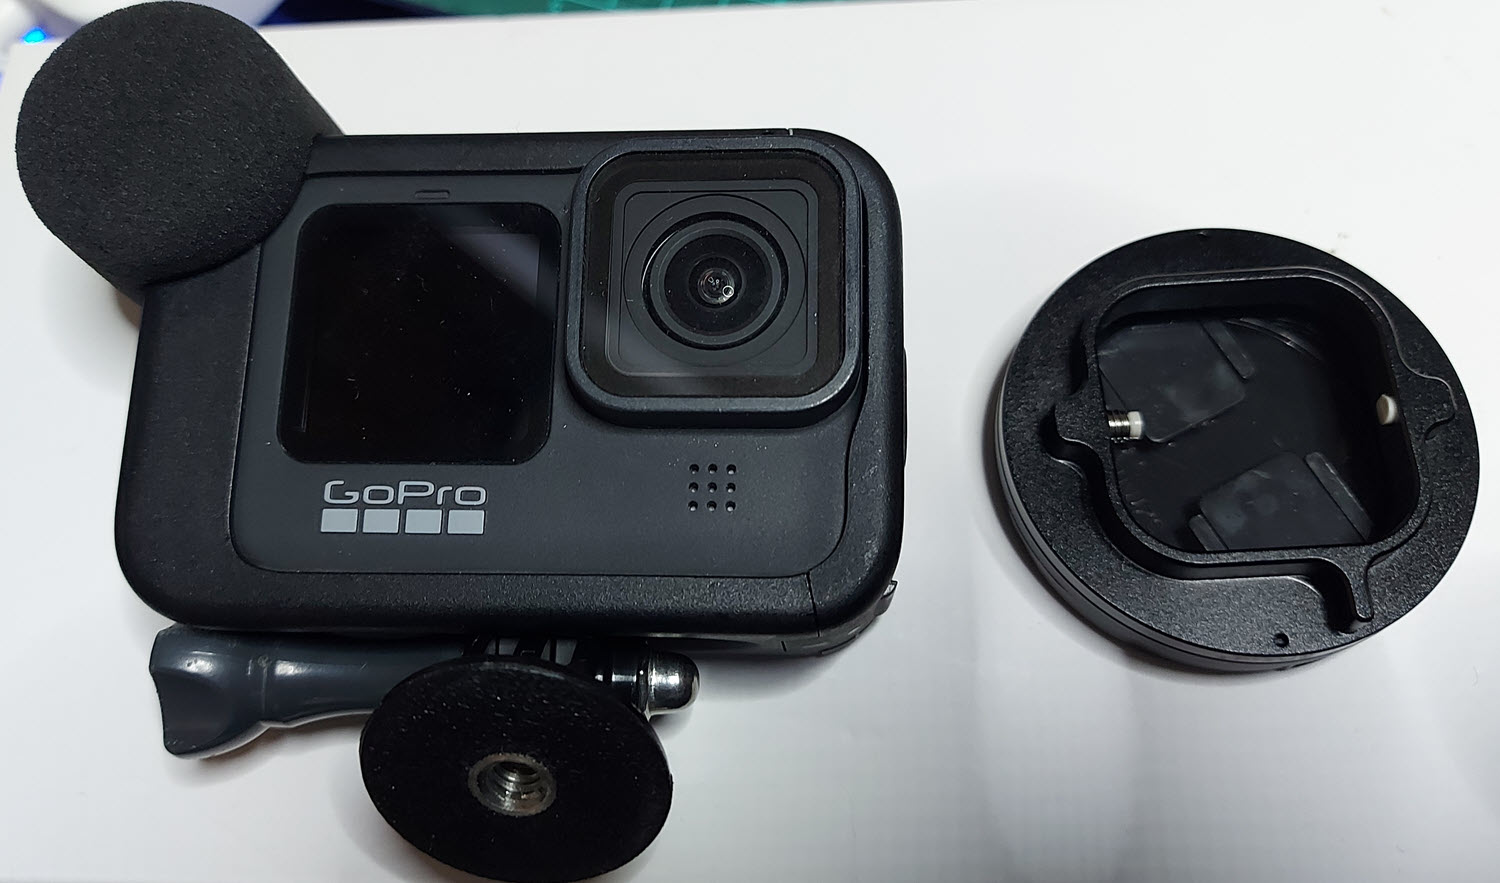 Others, like GoPros, need you to buy a special filter adaptor (usually containing a UV filter) and then other filters can be screwed into this.
Coloured Filters
The easiest to explain is coloured filters such as red, blue or yellow. A red filter is used for underwater video and photography as they can increase visibility in hazy or cloudy water. In landscape photography, red filters turn a sky almost black making clouds pop out.
A blue filter on the hand can INCREASE haze or fog adding to the mood of a shot. It will also lighten blues and darken yellows, oranges and reds given colour separation in scenes with a mix of colours.
A yellow filter is used to bring out clouds by darkening a blue sky.
Effects Filters
Effects filters such as the star filters I mentioned earlier are purely to add a special effect to a shot and like special effects in video, should be used sparingly. As well as star filters, you can get ones that break up the image into triangles or pentagons (and more), ones that “fog” the edges of an image and much more. For inspiration, look at a Hoya or Cokin catalogue.
UV Filter
Whilst a UV filter is useful in film photography (as against digital) as by stopping UV rays reaching the film and causing discolouration, the primary use these days of a UV filter is as a lens protector, stopping dirt and grit and even fingerprints on to the valuable ‘glass’.
Polarizer Lens
If you are shooting anywhere near water or glass, a polarizer is extremely advantageous as it will help remove any reflections, when for example, shotting through a window. In effect, they work exactly the same way as polarizer sunglasses.
Now you may see reference to liner and circular polarizers. It is best to go for circular ones, also called CPLs, as these have an extra quarter wave-plane element that helps convert the light back into a form that is suitable for modern autofocus and auto-exposure systems.
ND Filter
These are the trickiest to explain in a few words, so much so I did an entire article on them a while back you can read here.
There are varying values of ND filter – 4, 8, 16, 32 and so on – and these allow you to vary the exposure time by reducing the amount of light reaching the sensor. This is best explained by way of an example.
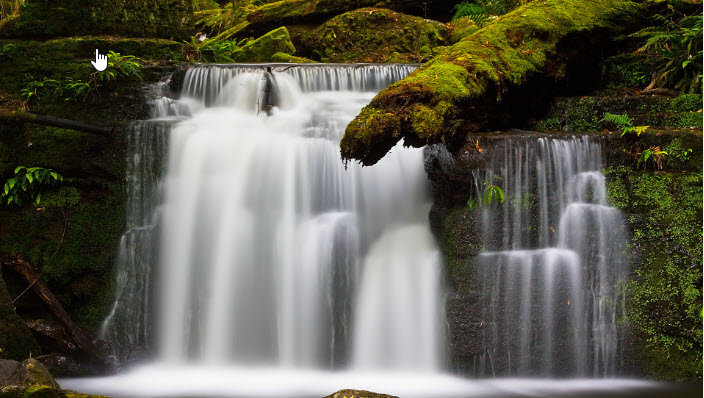 Say you have a waterfall you are shooting, and its bright sunlight. You might need to shoot at f22 and 1/60th of a second to get a still shot, that is not overexposed, but this will ‘freeze’ the water in the shot.
By adding an ND filter, you will reduce the light getting to the sensor and allow you to slow down the shutter speed to maybe 2 seconds (depending on the filter you use) or even more, and therefore get one of those blurry water shots.
A master exponent of this art in nature shots is Jim Picôt with his drone images, and my great mate Ross Gibb with his nature footage.
It takes trial and error with a learning curve to master ND filters, but in the long run they are worth it.
Conclusion
This was a very quick primer on filters and I hope it helps. If you have any questions, feel free to contact me at david@creativecontent.au.