
Introduction
Cameras that can shoot 360° panorama shots or video have been around a while now. The first I think I saw was the 360Fly way back in 2016 and I filmed a trip across the Nullabor plain with it from the roof rack of a Suzuki Grand Vitara!
My next major sojourn with one was a series of models from GoPro (Fusion), Samsung (Gear 360°) and Ricoh (Theta). There were other instances where now long dead and buried companies sent me some models to play with, the most notable being the VUZE from Israeli company Human Eyes, which gained fame when it was used on the International Space Station.
How things have progressed since then! The 360° camera has gone from a bit of an interesting novelty to an important player in the consumer and business market as people realise the potential of these cameras beyond gimmicky wrap around imagery.
The major companies in the market today are as expected; GoPro with the Max 2 and DJI and its OSMO 360 but also sticking its head above the parapet is Insta360 with the ‘X’ line of cameras.
The latest model to hit is from DJI, and called predictably, the DJI OSMO 360 II being the second model carrying the name.
Why Shoot 360°
Before I delve in to the depths of the DJI OSMO 360 II, I’ll give you a brief overview of why you’d might want to shoot in 360°.
The first is the panorama image.
Let’s say you have a huge vista in front of you – somewhere in the Kimberley in the NW of Western of Australia for example – and even a wide-angle lens on a standard camera cannot capture the enormity of it. Additionally, the wider you go in the lens, the more and more distorted the image will become.
Sure, some cameras have the ability to “stitch” a sequence of images together inside the camera such as the Canon EOS R6 III, Fujifilm X-T30 and Panasonic LUMIX GX85 (neither Sony nor Nikon currently support in-camera stitching as far as I can see).
But this feature is a very secondary one generally speaking, and besides, with camera AND lens we are talking serious $ here in the $1500 – $2000 range and more.
The second, and arguably more important function of 360° cameras is their ability to shoot 360° video. What this means is that as soon as you start recording, EVERYTHING in a 360° sphere is captured at once, effectively giving you an immediate and infinite, multi-camera setup.
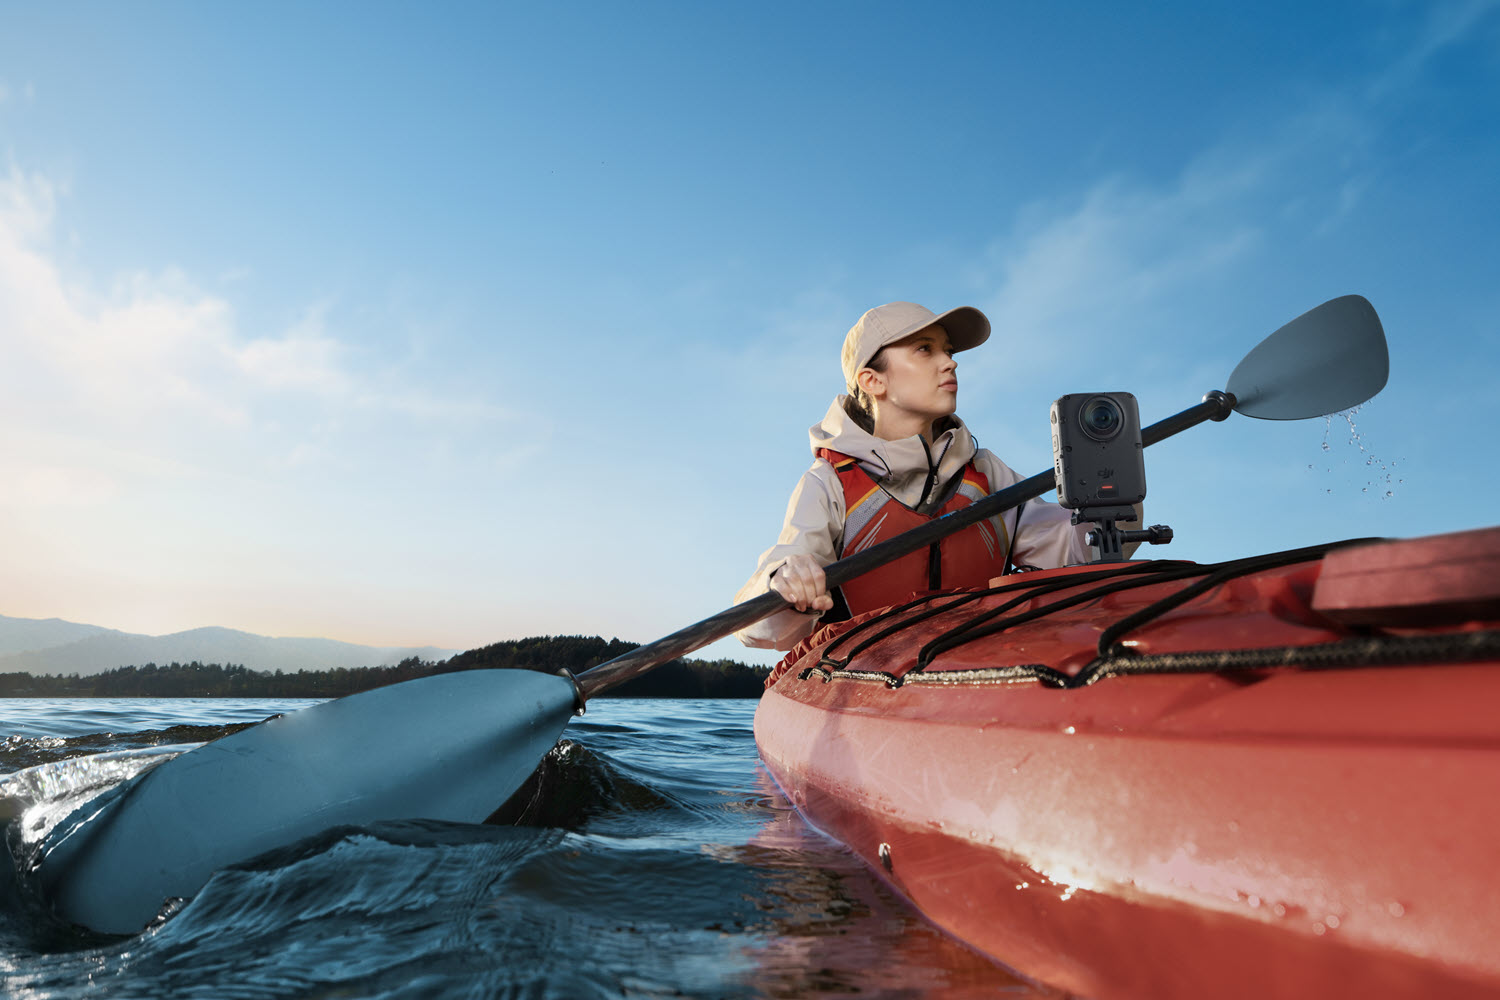
A very basic example of where this might be useful is on a fishing trip in a boat. Place the camera in the centre of the boat at the right height, and no matter where you or anyone else is standing or sitting, if you catch a fish and the camera is rolling, the footage will be captured.
An alternative example is in a race or rally car. Footage can be obtained from through the windscreen, back window, side, the driver’s hands on the wheel, his feet on the pedal etc, all from a single camera and simultaneously.
Physical Description
OK, knowing why you might want 360° still or video footage, let’s look at the new DJI OSMO 360 II.
Body
The DJI OSMO 360 II body is a bit smaller than a cigarette pack with front and rear mounted lenses and a rear LCD screen, The physical controls are simplicity itself; a single button on the side is the on / off and mode switcher (once the camera is on) to cycle through all of the basic shooting modes – Panoramic video and Panoramic still, and there is a pair of small buttons below the LCD.
The circle on the left is used for record start / stop in video or shutter release in still mode. A long press on this will switch the camera into waterproof case mode and if pressed when the camera is off, will immediately start the camera recording in the mode you have designated in the Snapshot settings of the camera.
The square on the right is used to switch the display between the front and back camera, a double press recentres the image and configured this way, will also act as an immediate snapshot if the camera is turned off.
All other controls are operated on the touch screen as explained shortly.
The other areas to note are the two hatches accessed by pressing the button and sliding down. The one on the left of the camera gives access to the USB-C port for charging or data transfer, and the right hand side hatch is for the battery and SD card.
Finally, unlike its GoPro counterpart, the bottom of the OSMO 360 II has a built-in magnetic clamp for accessory attachments, most usually to attach a mount to such as the selfie stick or windscreen, handlebar, helmet etc mount.
Screen Controls
As mentioned, the majority of the controls of the OSMO 360 II are touch screen based. For example, at bottom right is the icon to switch screens (as against using the switch screen button) and at bottom left, the switch mode icon. This is more expansive than the side button as you can select from a number of additional modes – SuperNight, Spotlight Follow, Pan Slo-Motion, Timelapse, Selfie, and Vortex. With Spotlight Follow, you can register up to three subjects in the DJI MIMO app for later tracking. (This ensures that in a crowd, the camera will not “jump”: to a different subject, instead staying fixed on the registered tracker).
In the centre right of the screen is the icon for “Pro” mode where such things as film tone, stabilisation and image adjustments can be altered or defined.
Swiping up from the bottom centred is where you’ll change resolution and shutter speeds etc and swiping down from top centre takes you into the full settings menu system.
Other on-screen information includes battery level and remaining recording time.
There is a bit to learn and memorise here as the OSMO 360 II is not a simple point and shoot camera by any means – although it can be if you really only want that, but then you’d be wasting the possibilities it has to offer.
In short, spend some time with the camera and have a play with all the settings to understand what they do and where and when you can use them.
Technical Description
I’ll only briefly go into the deeper technical description of the DJI OSMO 360 II as for most, these details are not of any great interest beyond connecting the camera for data download or microphone communication etc.
Processor
Unlike GoPro, DJI doesn’t actually publish the specific chip name for the Osmo 360 II — they only describe it in marketing terms. What’s confirmed is that it uses a “new generation of imaging platform specially built for panoramic use,” designed from the ground up to achieve 8K/60fps. What we do know is that there is dual 1/1.1 inch CMOS sensors.
Memory
This is coupled to built-in 128GB memory of which 105GB usable and of course this can be expanded by adding an SD card. Because of the nature of 360° video and photography though, you will need a high-capacity and high speed card. Expect a maximum recording time of around 100 minutes from a single battery charge.
Audio
To capture audio, the OSMO 360 II has 4 built in mics capturing at 48kHz, 16 point AAC. You can of course optionally also connect DJI’s own external lav mics using either Bluetooth or better, DJI’s own propriety OSMO audio connection technology which eliminates the need for a receiver on the camera.
Connections
As well as the USB-C port and Bluetooth, the OSMO 360 II also has Wi-fi. This can be used to connect the camera to your phone via DJI MIMO for live external viewing of the footage being captured as well as allowing remote control of the camera and fast transfer of footage for later phone editing.
Shooting Modes
This is the nitty gritty of the DJI OSMO 360 II of course, and there is a lot to choose from depending on subject, conditions and so on. You can switch the ISO between 100-51200 which is not too shabby, but you do have a fixed aperture of f/1.9. Shutter speeds can be varied from 1/8000 to 30 seconds in still mode and 1/8000 to the limit of frames per second in video mode.
Available resolutions, and frame rates vary depending on the shooting mode you choose; here is a list.
| Max Photo Resolution | Panoramic Photo: 2:1, 15520×7760 (120 MP) Single-Lens Photo: 4:3, 6400×4800 (30.72 MP) |
| Panoramic Video | 8K: 7680×3840@24/25/30/48/50/60fps 6K: 6000×3000@24/25/30/48/50/60fps |
| Panorama – SuperNight | 8K: 7680×3840@24/25/30/48/50/60fps 6K: 6000×3000@24/25/30/48/50/60fps |
| Panorama – Selfie Mode | 4K: 3840×3840@25/30/50/60fps 3K: 3000×3000@25/30/50/60/100/120fps 2K: 1920×1920@100/120/240fps |
| Panorama – Spotlight Follow | 4K@24/25/30fps 2.7K@24/25/30fps |
| Panorama – Slow Motion | 4K: 3840×1920@100/200/240fps |
| Panorama – Timelapse | Hyperlapse 8K@25/30fps: Auto/×2/×5/×10/×15/×30 Timelapse 16K@25/30fps 8K@25/30fps Modes: Clouds (10 mins/2s), Sunset (1 hour/3s), Custom Custom Intervals: 1/2/3/4/5/6/8/10/15/20/25/30/40s, 1/2/5/30/60 mins Duration: 5/10/20/30 mins, 1/2/3/5 hours, ∞ |
| Panorama – Vortex | 8K: 7680×3840@100/120fps 6K: 6000×1500@100/120fps |
| Single Lens – Video | 4K (4:3): 3840×2880@25/30/50/60fps 4K (16:9): 3840×2160@25/30/50/60fps 2.7K (4:3): 2688×2016@25/30/50/60fps 2.7K (16:9): 2688×1512@25/30/50/60fps |
| Single Lens – SuperNight | 4K (4:3): 3840×2880@25/30fps Boost Video 4K (16:9): 3840 × 2160@25/30fps Boost Video 2.7K (4:3): 2688×2016@25/30fps Boost Video 2.7K (16:9): 2688×1512@25/30fps Boost Video |
| Single Lens – Boost Video | 4K (1:1): 3840×3840@25/30/50/60fps 4K (4:3): 3840×2880@25/30/50/60/100/120fps 4K (16:9): 3840×2160@25/30/50/60/100/120fps 4K (9:16): 2160×3840@25/30/50/60/100/120fps 2.7K (1:1): 2688×2688@25/30/50/60fps 2.7K (4:3): 2688×2016@25/30/50/60/100/120fps 2.7K (16:9): 2688×1512@25/30/50/60/100/120fps 2.7K (9:16): 1512×2688@25/30/50/60/100/120fps |