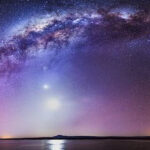
One of the most satisfying photographic experiences I find is that of celestial photography. When you actually nail that perfect shot of the Moon, a passing comet, meteor shower, distant galaxy or a “simple” star trails image, it makes all the time and effort worth it.
There are many different ways to get photographs and video of the heavens and its contents, and whilst, yes, it CAN get expensive – just as any hobby can – it doesn’t need to be.
This is the first in a series of stories based on how I got into astrophotography over the last 20 years, and hopefully, if you have an interest in this area, it will be a useful guide.
Now I do NOT pretend to know everything, not by a very long shot. I consider myself still very much an amateur compared to some of the stuff I see from my peers, but I think I know enough to get you on the road with having to initially spend an arm and a leg.
You Don’t Need a Big Budget
When I started back in 2002, I was under a big misconception. I thought to get started I needed to buy a decent telescope with an SLR film camera. I splashed out over $1500 on a Skywatcher telescope. I compromised a little on the camera by breaking one of my golden rules and had a browse in a Cash Converters store and bagged a Minolta SLR with a couple of lenses for under $300.
I now know that is not at all necessary.
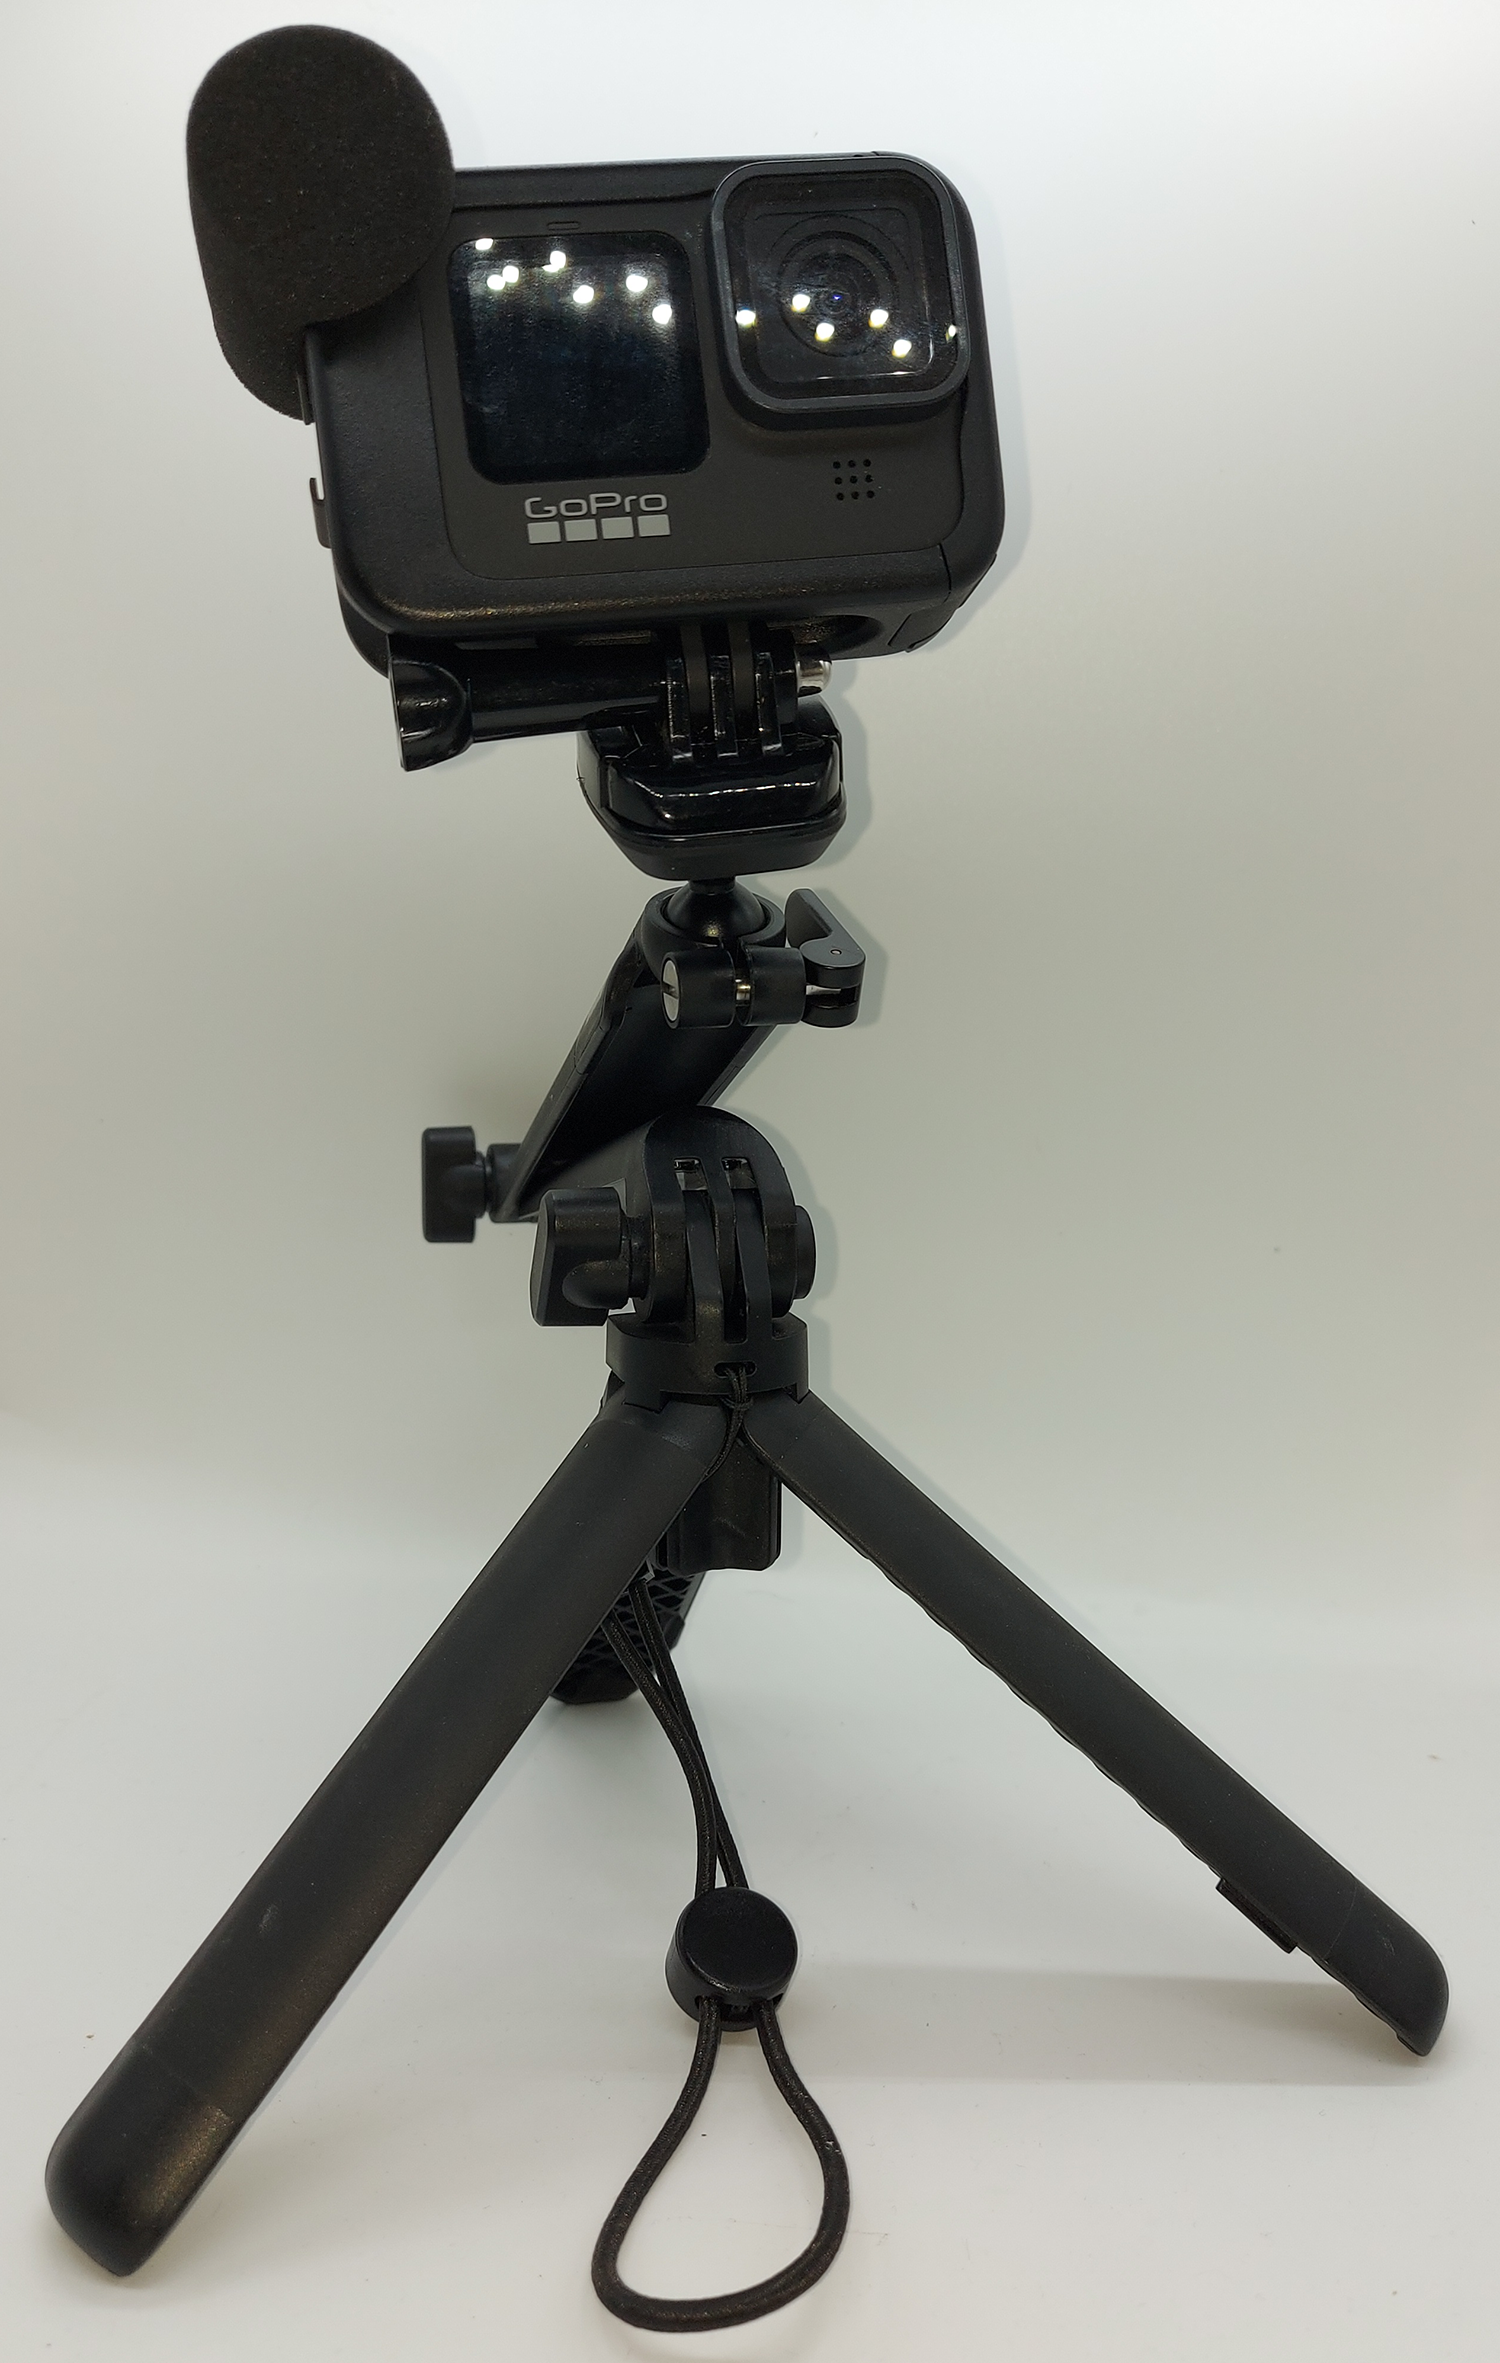
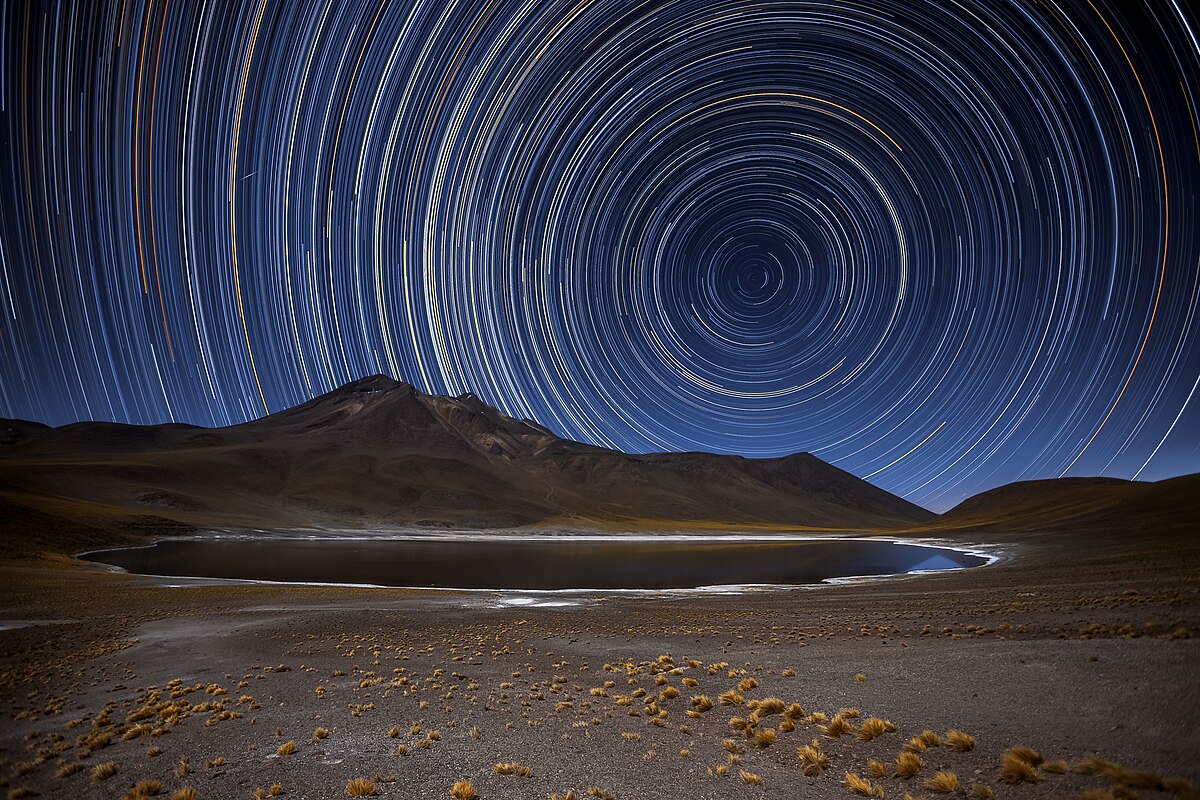
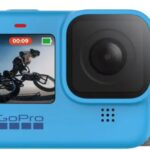
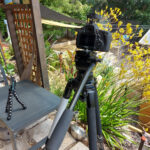
At the very basic level, a recent GoPro (in the Hero 9 range and above I am pretty sure) has a star trails function built in where you can simply set the camera on a small tripod and let it run overnight. This way, you can get started without having any knowledge of aperture, ISO, shutter speeds and so on.
A Pair of Must Haves
I do recommend at least two things though that will greatly influence what you decide to shoot – ie what area of the night sky and assist you in getting settings and so on correct.
First, is get a copy of Stellarium software. It is free and works across all the major platforms, smartphones and tablets.
Stellarium is a software almanac if you like, and displays a “live” map in real time of the night sky. It contains information on all the galaxies, stars, planets, moon, asteroids, comets and whatever else is up there, with complete details on each such as size, brightness, speed of movement, exact co-ordinates and much, much more.
Simply tell Stellarium where you are and it will work out the exact time of day and display an image of the sky at that exact moment depending which direction you are facing, all updated in real time. You can even ask it to search for a planet or star and it will find it for you making it easier to point your camera in that general direction.
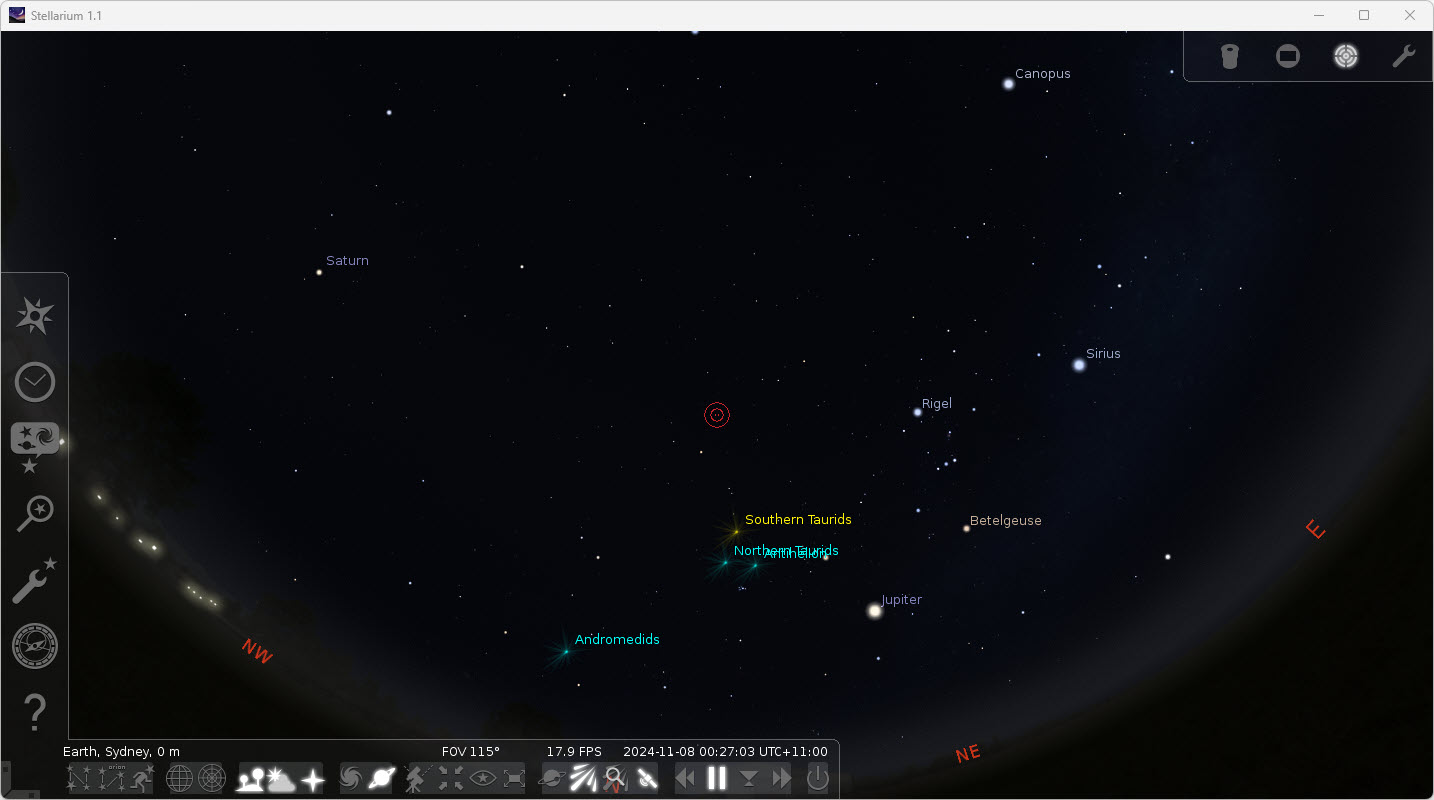
StellariumStellarium is very deep in the information it possesses, so whilst getting the basic gist of what it does is not hard, to get the full advantage of its usefulness does require a bit of study. You can download Stellarium here.
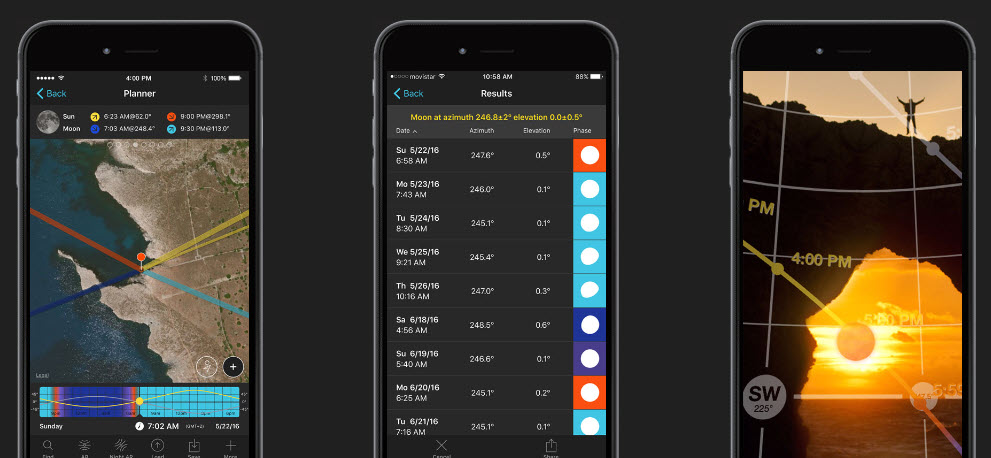
The second piece of software is incredibly useful and not just for stargazers, but photographers / videographers in general and is called PhotoPills. It is an app for your smartphone and tablet. PhotoPills does cost – AUD$17.99 – and is worth every penny.
Like Stellarium, it gives you a live map of the night (or day) sky, but it does so much more as well, with some extremely clever mathematical and physics algorithms built in.
Say for example say you want a shot of the full Moon setting behind the Sydney Harbour Bridge. With PhotoPills, it not only can tell you when this will happen, but also tell you exactly where to stand and at what will be the perfect time to get the shot, plus the right settings for the camera depending on the conditions at the time.
PhotoPills does a lot more than this too, and I suggest you read my review here, and have a look at the website for PhotoPills here. There is also a video there taking through the functionality of PhotoPills.
A Step Up
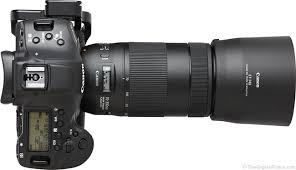 If you already have a mirrorless or dSLR camera that can take interchangeable lenses, you are halfway to the next step in the journey of astrophotography. And if you haven’t, there is a proliferation of second hand models on the market you can sometimes get for a bargain.
Word of warning though. Not all lenses fit all cameras. For example, I have a Canon 5DS dSLR and a Fujifilm X-S10 mirrorless and both of these allow interchangeable lenses. However, the lens mounts are entirely different and so my Canon lenses will not fit the Fujifilm and vice versa.
In some cases, there are 3rd party manufacturers such as Sigma that make different lenses for different mounts, but double check before lashing out.
But if you stay with the known staples such as Canon, Fujifilm, Nikon, Panasonic (LUMIX), Sony (alpha), Pentax and Olympus you shouldn’t go wrong.
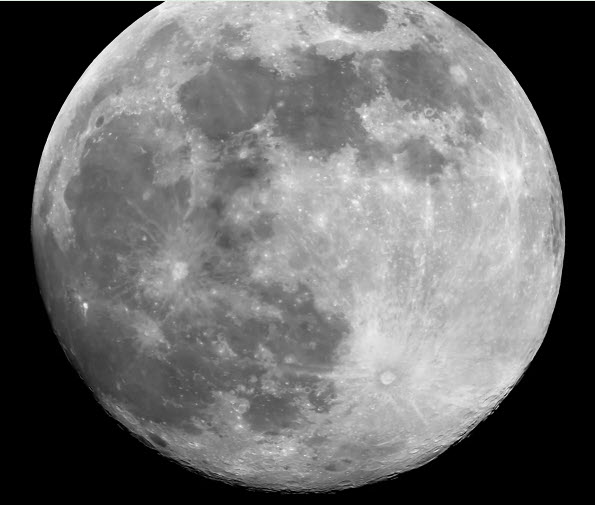
As a starting point, I would suggest a minimum 300mm lens is needed. This will allow you to get decent shots of the Moon such as shown here. Of course, the longer the lens the better, but I suggest a 300mm as you can usually get what are called teleconverters of either 1.5X or 2X, which as the name suggest, increases the focal length to 450mm and 600 mm respectively. These do bring in other considerations I’ll cover in a later article.
Notice I used the Moon as a starting point. There is good reason for that, as the three critical things in astrophotography are focus, shutter speed and aperture. The Moon being a relatively larger subject makes it easier to practice and so become intimate with these three aspects.
If the focus is not spot on, and I *do* mean spot on, the image looks fuzzy. If the shutter speed and aperture (and to a lesser degree the ISO) are not in synch, you’ll either have an image that is too dark or a just a circle of white light.
If you need more info on these subjects, I have some 5 minute training videos you can find here.
Practice does make perfect in this case, and I highly recommend making copious notes of your settings for each shot so you can reference them later. There are also many, many astrophotography websites you can go to and see different shots and details of the settings and camera models / lenses the photographer used to give you an idea.
And again, PhotoPills is also invaluable in this area.
Another thing you will have to take into account, and I’ll bet you didn’t think of it, is that both the Earth and the Moon are moving. Quite quickly in fact.
So, a shot you took of the Moon 5 minutes ago will definitely need reframing and refocussing as there is no way the Moon is still in shot!
Conclusion
I stress again, practice makes perfect and the more shots you take the better you’ll get. You will get setbacks – not the least being cloudy skies – but with perseverance, you’ll soon have shots like these here.
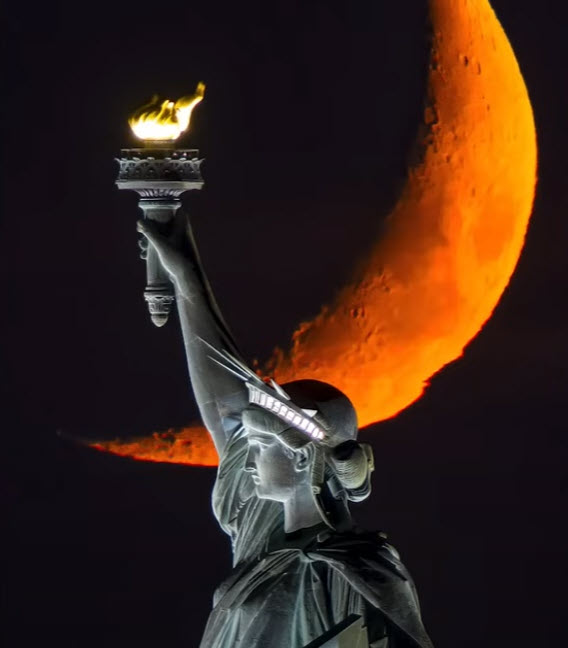
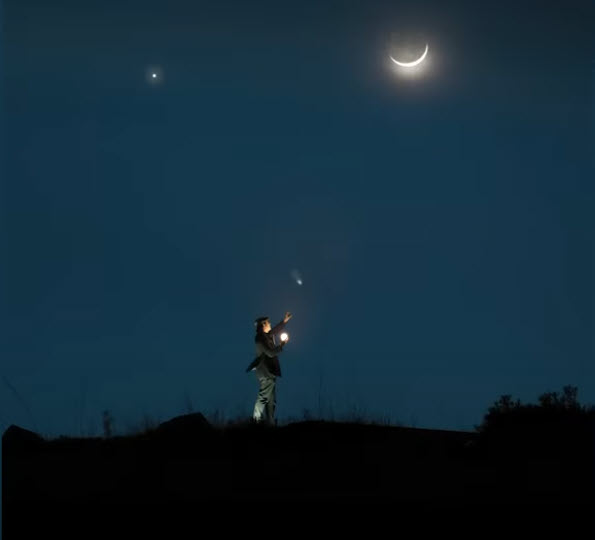
(These are from a PhotoPills collection of the very best 25 Moon shots. You can see the full video here).
In the next in the series, I’ll explain all about telescopes, what to buy, what things you need to attach your camera and more. In the interim, if you have any questions, feel free to email me at david@creativecontent.au

