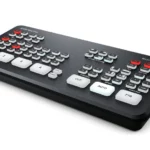
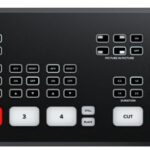
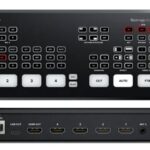
One really neat trick with the Blackmagic Design ATEM Mini Pro is the ability to “play around” with your available shots / cameras before switching to live mode.
Let me explain.
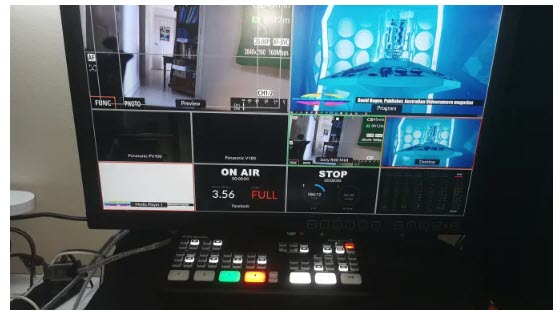
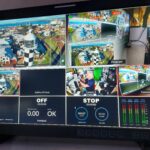
The Blackmagic Design ATEM Mini Pro allows you to monitor in either PGM (program) mode or in M/V (multi-view) mode.
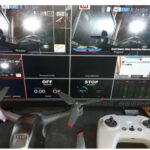
In PGM mode, what you see is what is being broadcast live from whichever input is selected (1-4). In M/V mode however, there is a large Program window on the right which shows the live stream and a large Preview window letting you preview each of the inputs off-air.
4 windows underneath these main windows show each input and beneath that are another 4 for the Media Player, the streaming destination (here it is showing Facebook for example and is live), info on the data stream and storage details on any attached hard disk and finally, audio levels and metering.
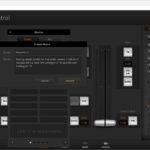
By going into the Blackmagic Design ATEM Mini Pro setup software, you can switch from Cut Bus mode to Program Preview mode.

This then allows you to cycle through the inputs off air and then when required, use the buttons on the Blackmagic Design ATEM Mini Pro to either cut to a new live input or using the auto button perform a fade, dip or other available effect from the current live feed to a new one selected in the Preview mode previously.

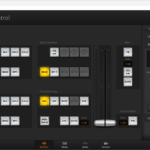
If you want to use graphics overlays like you see here, they can be created in any graphics package that supports alpha channels (transparency), but if you use Adobe Photoshop, there is a plug it that the Blackmagic Design ATEM Mini Pro Desktop software supports that allows you to send the image directly from Photoshop to a slot in the Media Player pool.

All you need do then is load the image into the Media Player in the Blackmagic Design ATEM Mini Pro desktop software, make sure the downstream keyer has the correct information (we’ll cover this in more depth in a later tutorial) and press ON AIR (or Auto) in the DSK (Downstream Keyer) section of the Blackmagic Design ATEM Mini Pro desktop software.


