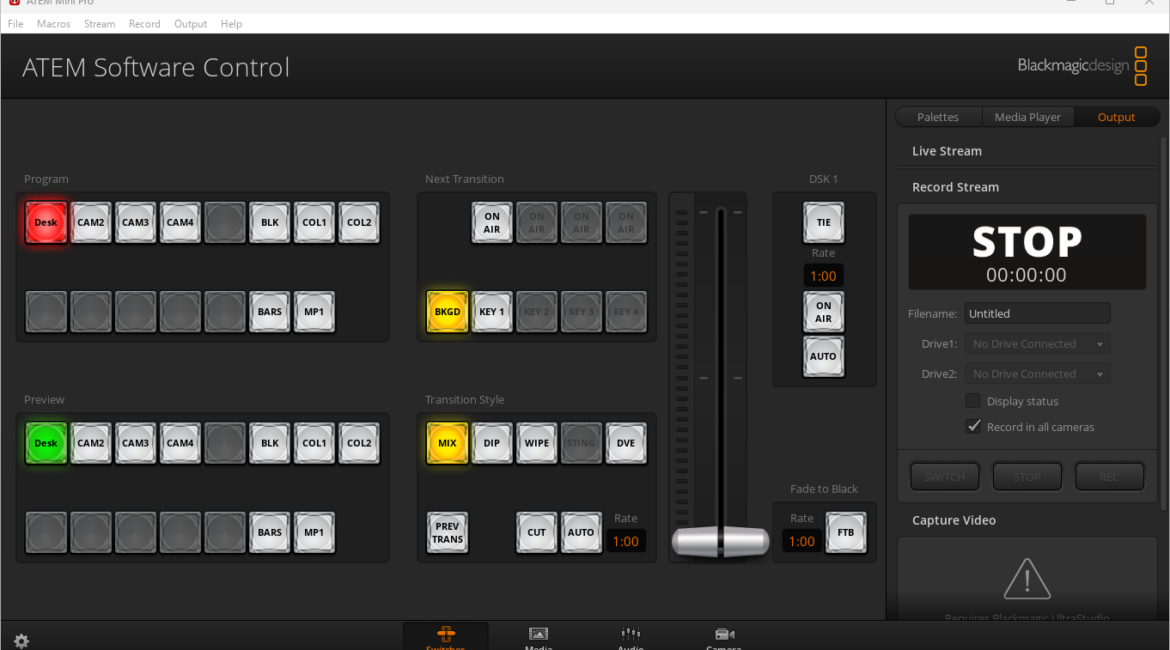
Over the last couple of years, I have made mention a number of times to how the ripper little Blackmagic Design ATEM Mini Pro has the ability to replace the equipment that was used to create the Microsoft office and Windows 95 training videos I wrote and directed.
One thing I have not stressed enough though I suspect, is that whilst the ability to include downstream and upstream keys, switch between 4 video and 2 audio inputs, store up to 20 online graphics (titles, lower 3rd etc), control cameras and mix audio amongst other things, the major thing is this can be done in a live broadcast as well as recording a session to an SSD for later playback.
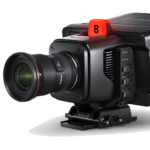
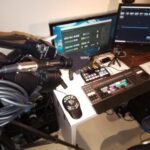
So, I thought it might be interesting to describe that process to give a better idea of the workflow. I have set up a sample session to mimic a live broadcast. Equipment consists of a Blackmagic Pocket Cinema Camera 6K Pro and a GoPro 9 and GoPro 10 (inside Media Mods to get the HDMI connectivity) for vision input on HDMI ports 2-4, my desktop giving input to HDMI 1 and a single Sennheiser MKE600 for audio input.
I have created a number of lower 3rds and some graphics with transparency in Adobe Photoshop and pre-loaded them into the Media Pool of the Blackmagic Design ATEM Mini Pro.
I have set it so that a live broadcast via Facebook Live is in place via the Ethernet port, and the session is also being recorded to a Samsung T5 connected to the ATEM Mini Pro USB-C port. To set the stream up, here are the steps:
- Got to your Facebook page and create a new post
- From the post options, choose Live Video (the left option)
- Select an option from the Welcome list (I chose the first) and then click Get Started
- As we are using the ATEM software, choose the Streaming Software option and then click Next
- The wizard will tell you that you can add an optional title and description. Click Next
- You can now add a title and description
- Copy the Stream key then generated from Facebook into the key setting in the ATEM Software Control’s live stream option.
- Click On Air in the ATEM software and after a few seconds, Facebook will display the live stream.
The sequence I will use to demonstrate the basics of the workflow are:
- Opening graphic from desktop
- Set Cam 4 as preview and load lower 3rd title
- Switch to desktop showing ATEM software Main Panel
- Switch to Cam 3
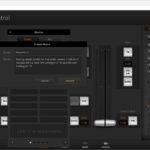
- Switch to ATEM software showing Camera Control panel
- Switch to Cam 2 with different lower 3rd title
- Switch to Closing Graphic
 |
 |
 |
 |
 |
 |
Notes
As mentioned, to create the full screen graphics, I used Adobe Photoshop. Similarly, the lower 3rds were also created here but instead of saving as a PNG with alpha channels, the ATEM Control software comes with a nifty bult in plugin that is installed into Photoshop when you install the ATEM Control software. This allows you to export directly from Photoshop straight into the Media pool of the ATEM Control software and creates the image with all the right parameters.
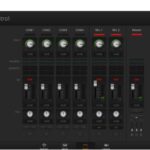
And I have finally found a use for Powerpoint! Just kidding, there are many slide show apps you could use for this, but if you have Powerpoint anyway, you may as well use it. I just created a slide show of four slides – the opening and closing images and the two screen shots of the ATEM Control software. I manually stepped through the slides as needed when they were displayed on my second monitor acting as HDMI 1 on the ATEM Mini Pro.
When I started playing the sequence and controlling the vision with the ATEM Mini Pro, it was all recorded onto a Samsung T5 SSD connected to the ATEM Mini Pro’s USB-C port. Of course, it you were going live via say Skye, Teams or Zoom, the USB-C port is connected to the PC if you want the ATEM Mini Pro to act as a pseudo webcam.
Simple! And versatile.
Conclusion
This is a very basic demonstration of using the ATEM Mini Pro in conjunction with the ATEM Control software, but you get the idea of what can be done. There are many other things you could do to enhance it – obviously I didn’t catch any audio and next time I will record an audio dialogue explaining what I am doing as well. I also used simple auto fades as transitions, but I could have used any of the built in DVEs of the ATEM Mini Pro in conjunction with those in the ATEM Control software. Similarly, the duration of the transition was left at the default, but I could have controlled that too if I’d wanted.
If you wanted to stick to exact timing, say you wanted to intersperse sponsor graphics between sections for an exact period, you could use macros for this – and any other operation for that matter.
To give you an idea of the breadth of the functionality of the ATEM Mini Pro, the English language section of the manual is 148 pages! I have had my unit now for getting on for 2 years and I am still finding out things of which it is capable.
And that doesn’t include the sibling models of the ISO, Extreme ISO, SDI, SDI Pro ISO and SDI Extreme ISO! Even at just over $2.5K, the top of the range unit is extraordinary value, and the Mini Pro I have at $500 is just staggering in its value for money.
If you have any questions, or I have not explained something either clearly or in not enough depth, feel free to contact me.
