
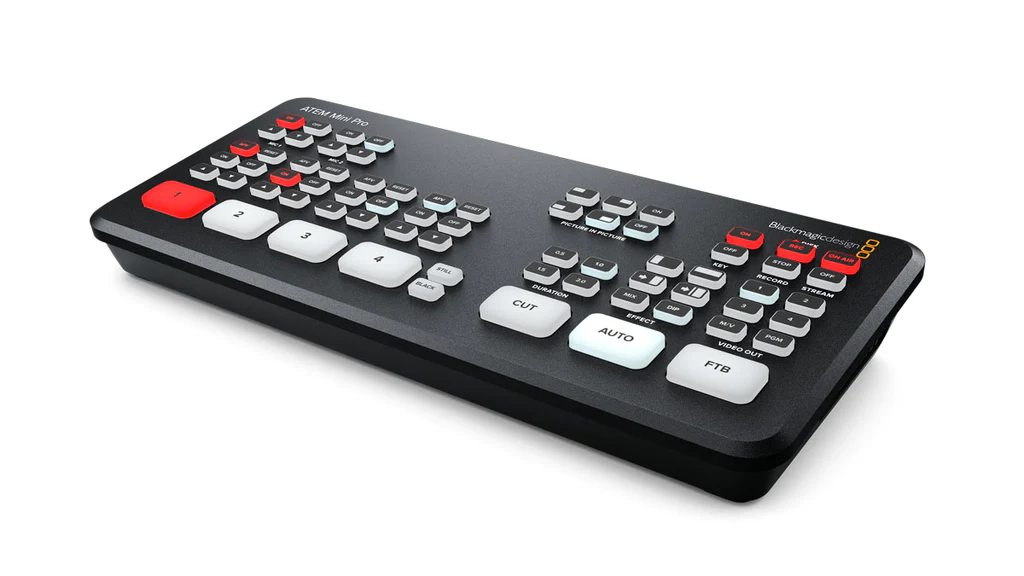
 For quite some time now I have waxed lyrical about the Blackmagic Design ATEM Mini Pro. I have stated many times that this amazing piece of kit, that not that long ago needed gear costing in the thousands of dollars to replicate what it does, forms the hub of my editing / broadcasting computer system.
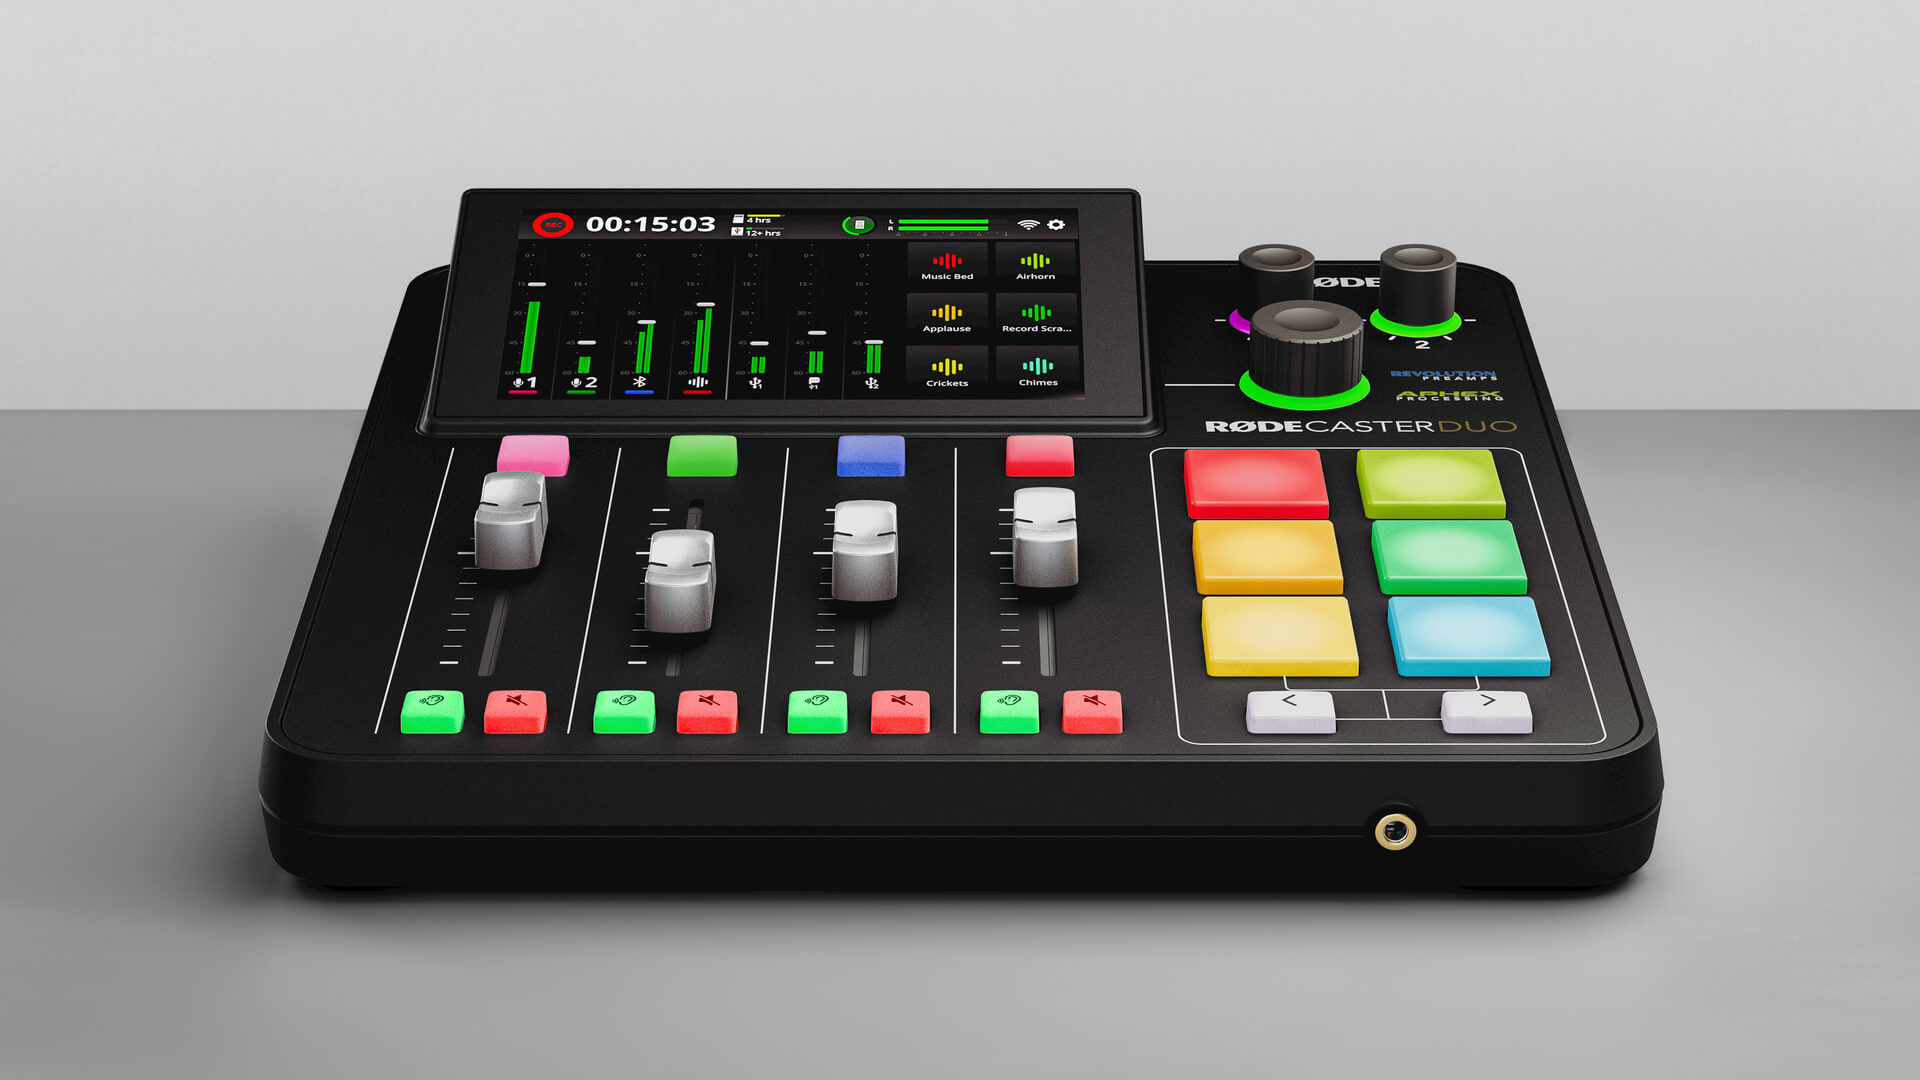
Conversely, I have lamented the fact that Blackmagic don’t complement the ATEM Mini Pro with an audio equivalent, instead relying on a software-based solution built into the ATEM Control software. But I recently resolved this by implementing a RØDECaster Duo into my setup.
A number of people have asked if I could explain in depth how I have put together the whole system – mics, cameras, monitors, audio and video etc, and how it all comes together for recording and streaming.
So here goes.
The Equipment
Video
I ruin a hybrid setup of gear as distinct from sticking with one brand. This is mainly due to the nature of how my setup has evolved, as against planning the complete system from the start.
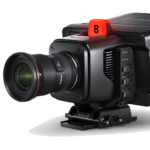
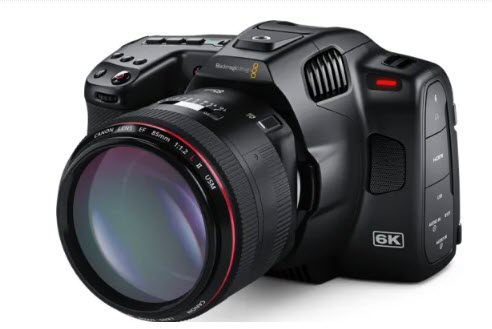 Being skewed towards the video side of things – although it has also been designed to cater for podcasts – I’ll start with the cameras. I run 3 at present, the main one being a Blackmagic Cinema Pocket Camera 6K Pro. This is the one facing me.
It is permanently connected to its charger, and the internal mic level is down to zero as I don’t want it recording audio.
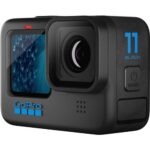
The other cameras two are GoPros – a 10 and 11 Black – and both of these are housed in GoPro MediaMods to enable the HDMI connectivity the Blackmagic Design ATEM Mini Pro requires. One GoPro picks up a ¾ side shot of me and the other is at the back of my office / studio and designed to be used when I am demonstrating something I am holding, or some manual technique or another. In other words, it’s a ‘dogsbody’ camera, suitable for a number of purposes outside straight vlogging.
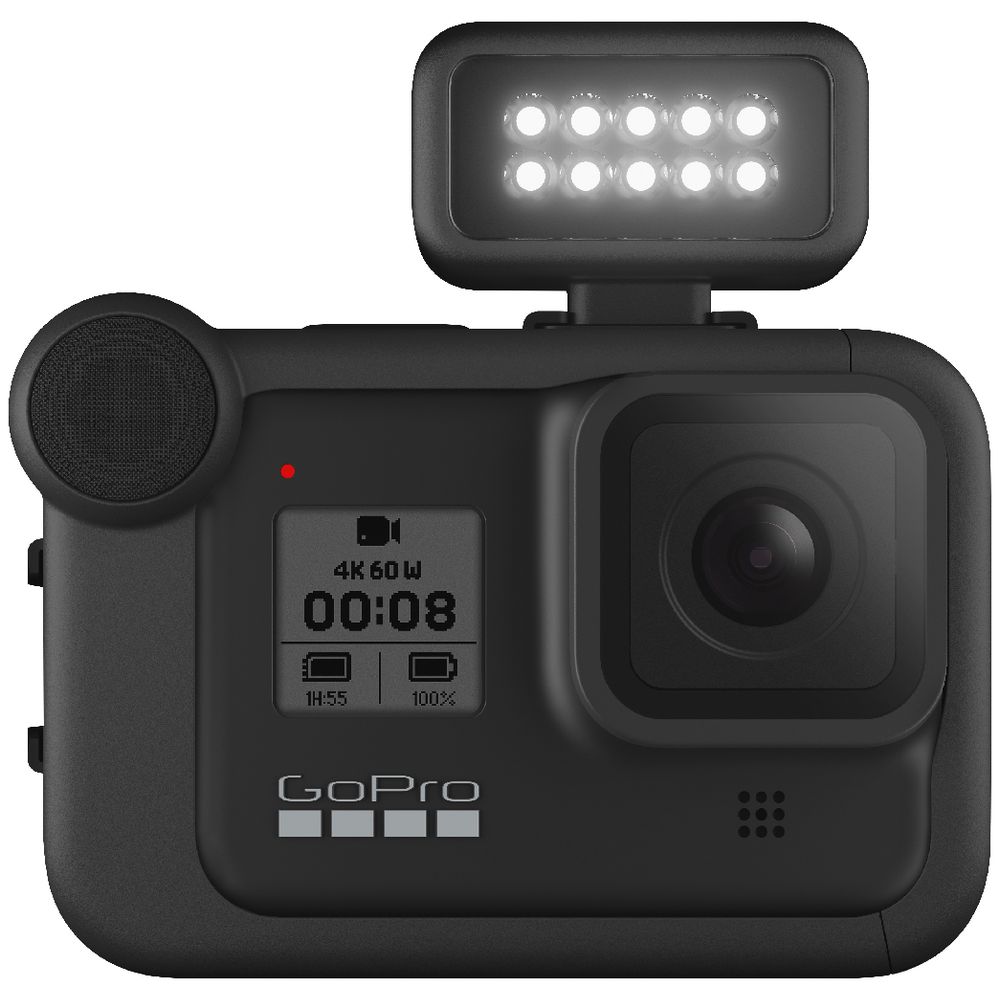
Both GoPros are powered by 240v USB adaptors putting out the required amperage, and the batteries have been removed to minimise overheating. You cannot disable the internal mics on a GoPro, so the trick is to put an adaptor into the MediaMod audio port.
All three cameras are on tripods; the Blackmagic on a baby Manfrotto, one GoPro on a PGYTECH MantisPod and the other on a GoPro tripod.
The Blackmagic Design ATEM Mini Pro has 4 HDMI ports, so obviously I still have one free after the cameras are connected. This is used to take a feed from my left-hand monitor so I can either demonstrate / show what is happening on the desktop, or if I want to have a remote guest in the video / stream, I could use a Skype, Messenger, Teams or Zoom etc image.
To achieve this, I use a simple HDMI splitter on the video cable from the computer to the monitor.
The Blackmagic Design ATEM Mini Pro also has an HDMI out port, and this is connected to an OSEE LCM215E field monitor. This in turn via the Blackmagic Design ATEM Mini Pro’s firmware displays Preview and Program windows, the images from the 4 video feeds (cameras and monitor), the currently selected image from the ATEM Software control Media Library (more on this later), recording and hard drive status and the audio mixing panel, again from the ATEM Software Control.
The Blackmagic Design ATEM Mini Pro has a USB-C port that can either be connected to the computer, effectively turning the whole environment into a super webcam, or alternatively, have a hard drive plugged in to enable recording and subsequent editing of the audio and video streams.
I use a recommended Samsung T5 USB drive for this. By the way, it is essential that for recording from the Blackmagic Design ATEM Mini Pro, you DO use a Blackmagic Design recommended drive otherwise, I promise, there will be unpredictable results.
Finally, to allow live streaming, I have an Ethernet cable from the Blackmagic Design ATEM Mini Pro directly into my modem. Wi-fi is not supported in this ATEM model.
The whole video portion of my setup is quite straightforward, and while I use the GoPros and the Blackmagic Pocket Cinema Camera 6K Pro, pretty much any HDMI supported camera can be used, bearing in mind you a) need to stick to 1080p and b) need to have the ability to get a “clean” HDMI feed from the camera ie: no screen overlays.
Audio
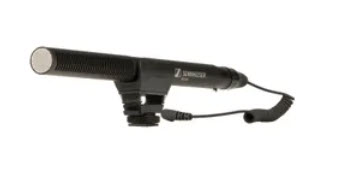
 Initially, I simply ran mics directly into the two available ports of the Blackmagic Design ATEM Mini Pro, but this had a couple of limitations. The mics I used at the time were a Sennheiser MKE 600 with an XLR to 3.5mm adaptor and a Sennheiser XSW Digital Wireless Lav set.
The first limitation is that the Blackmagic Design ATEM Mini Pro has no audio out port so you cannot monitor the audio via headphones, for example. Yes, I could plug the ‘cans’ into the audio port of the OSEE monitor, but I found this to be a clumsy work around.
Secondly, as the audio control of the Blackmagic Design ATEM Mini Pro is pretty much tied to the ATEM Control Software eg no sliders as such on the Blackmagic Design ATEM Mini Pro itself, if you wanted to say, fade music in and out, again it was a little clumsy.
So when the RØDECaster Duo turned up, it opened up a whole new world.
I now have at least 4 audio ports to play with, that I can mix into a single out port with the RØDECaster Duo and send to one of the Blackmagic Design ATEM Mini Pro audio in-ports, leaving one in port free. (The RØDECaster has four ports with physical sliders and 3 “virtual” ones. In the setup of the Duocaster, you can switch these around at will).
The mics are mounted on Elgato Mic Arms.
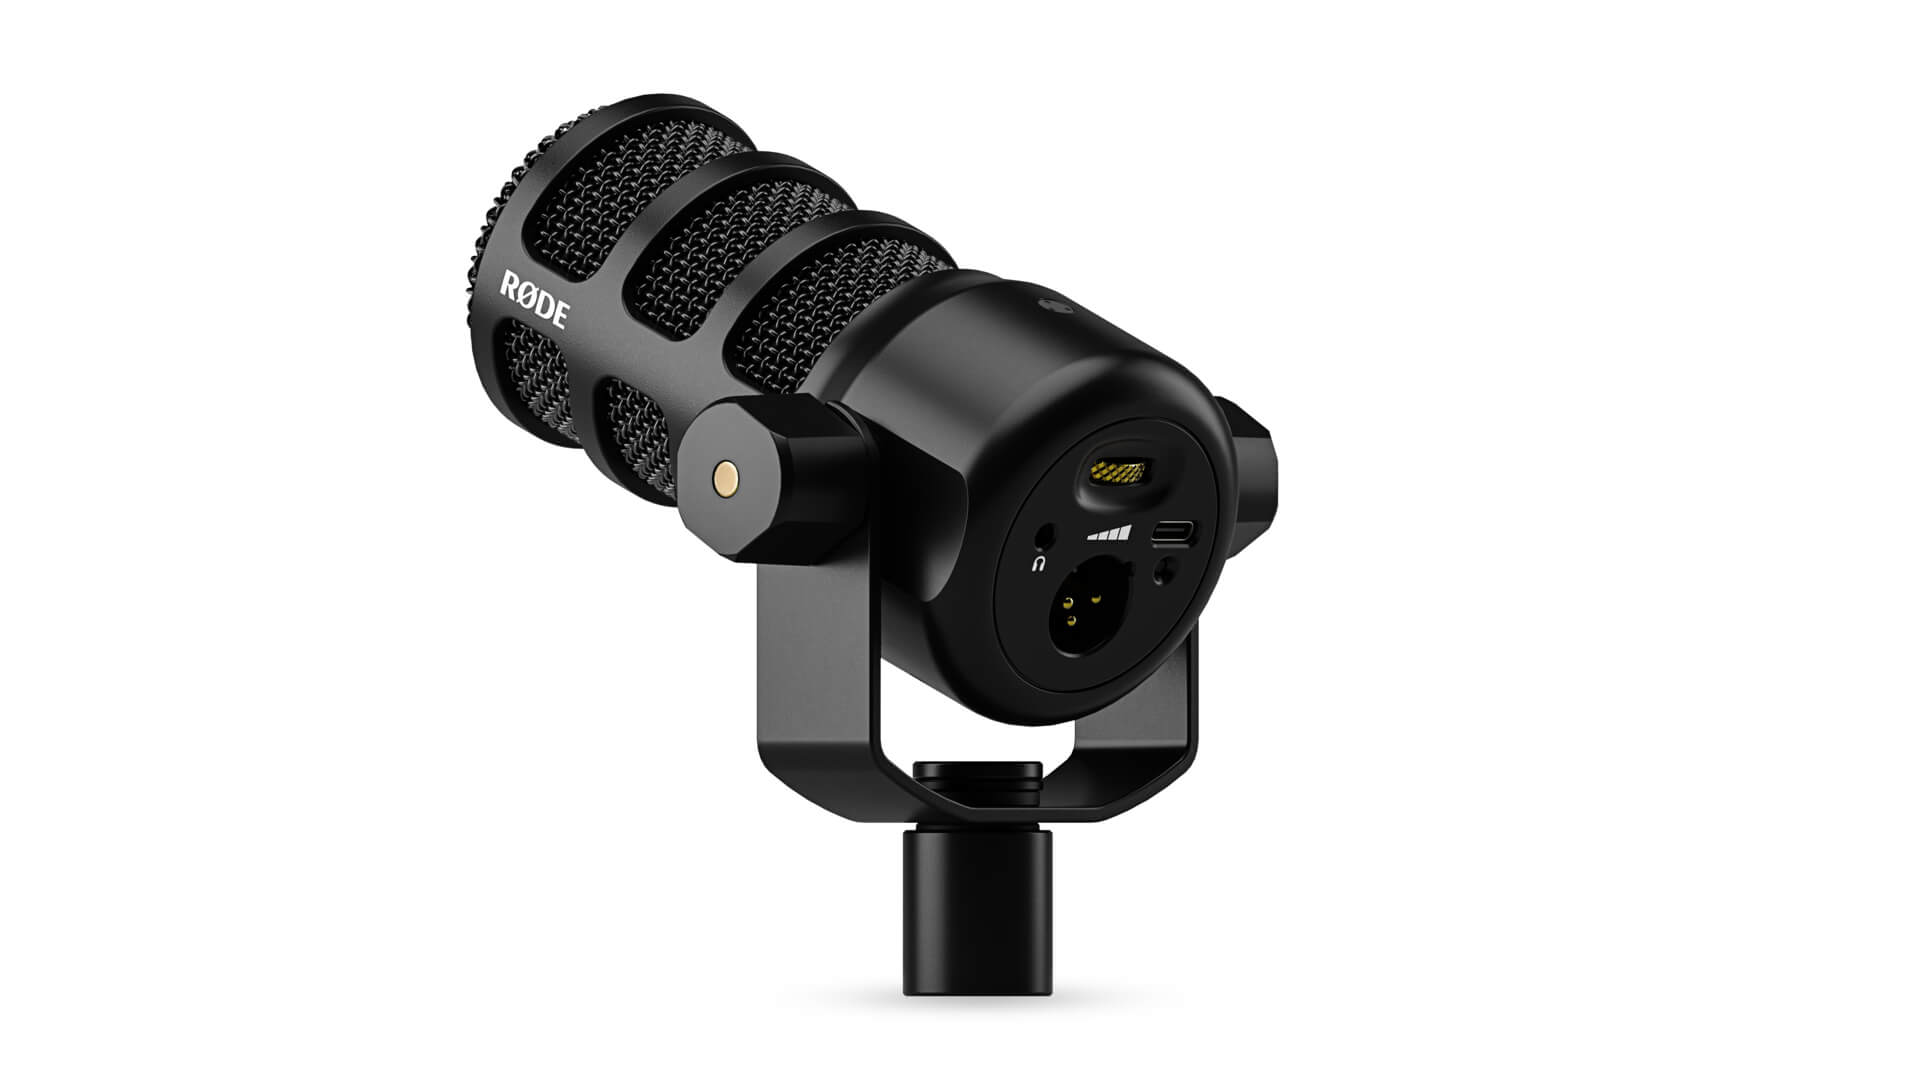 The way I finally decided to do this was by keeping the Sennheiser XSW Digital Wireless Lav on audio port 2 of the Blackmagic Design ATEM Mini Pro, and into the RØDECaster Duo, have Line 1 as the Sennheiser MKE 600 (via XLR), Line 2 with a RØDE PodMic (XLR), Line 3 a feed from my computer via USB-C for music etc, and Line 4 for the inbuilt ‘pads’ on the RØDECaster Duo (which can be programmed for stings, effects and so on).
I also now could use my Sennheiser HD 25 headphones for monitoring via the RØDECaster Duo (it has 2 headphone ports). If I wanted to, I could use the USB-C port on the Duocaster for recording the audio feed for which for which I’d use a Samsung T7 USB-C hard drive.
The reason I kept the Sennheiser XSW connected to the Blackmagic Design ATEM Mini Pro directly was it gives me an ease of use (and mobility) when I am involved in one of the product briefings I attend via Teams or Zoom. It’s a simple matter to turn the Blackmagic Design ATEM Mini Pro system into a webcam as mentioned earlier. Using the whole ATEM / RØDECaster Duo thing is an overkill for this sort of thing.
Software
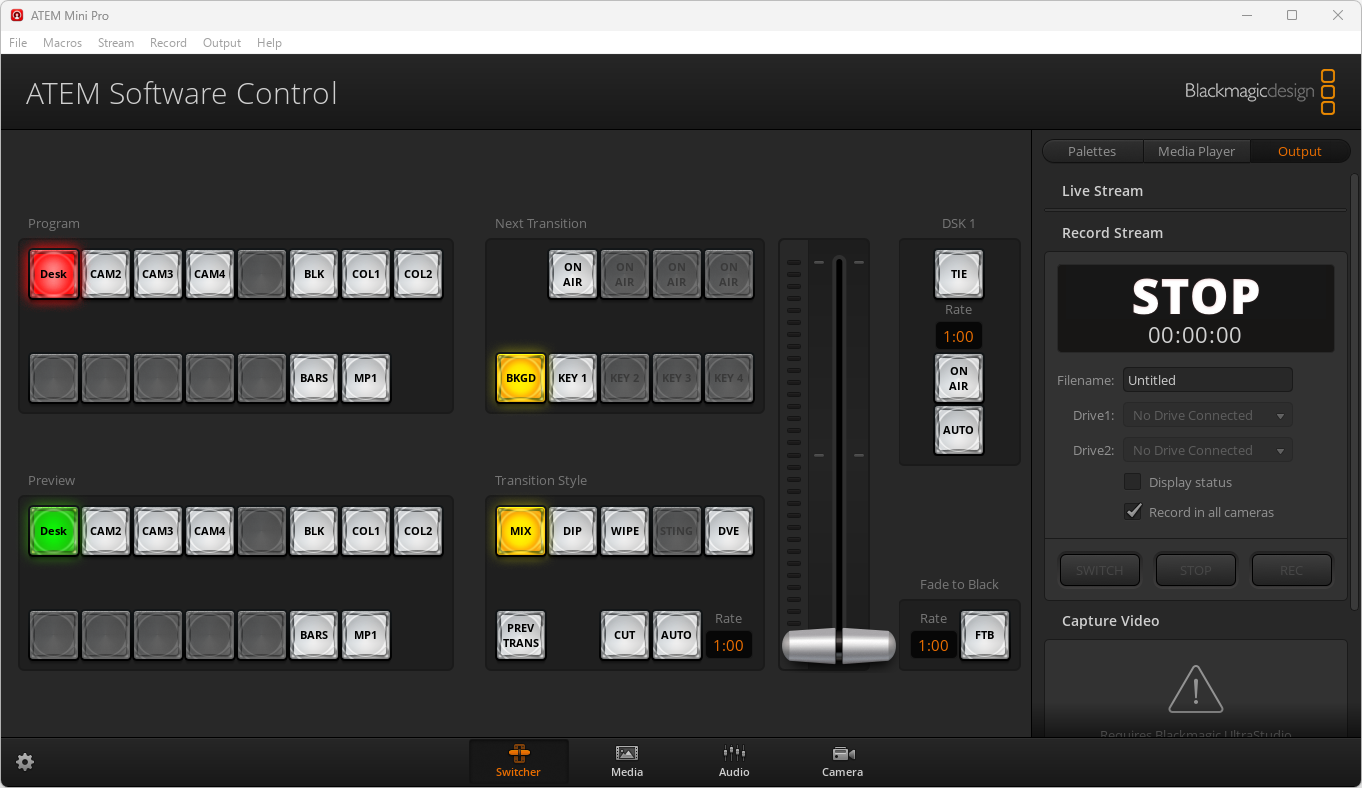 As mentioned earlier, I also use the ATEM Software Control package and while the Blackmagic Design ATEM Mini Pro works without it, having it as part of the overall mix greatly increases the flexibility of the whole system.
As well as being able to manipulate the Blackmagic Design ATEM Mini Pro using on-screen controls (as against physical ones), you also get two major benefits.
The first is the Media Library. Here, you can store up to 20 still images (not video sadly) and queue them up as overlays, lower 3rds and so on, or indeed whole screen images in their own right, and swap them in and out as needed. Both upstream and downstream keying is supported by the way.
For example, if I personally am on screen I have a lower 3rd with my name, email address and title on it. Additionally, I have a logo on the top right of my feed. I also have opening and closing titles and credits. Its only limited by your own imagination.
A second benefit of the ATEM Software Control is that of its use of macros. These can be created to automatically perform tasks at specific times or on triggers. For example, rather than manually move graphics around in and out of the media library as a part of an opening or closing sequence, you can create a macro that does this for you automatically.
Macros use standard the XML language which is relatively easy to pick up. They are initially created by physically performing the required tasks and recording them for later editing in a standard text editor if needed. Macros can also call macros which is a useful feature.
In Operation
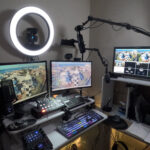
It has taken many iterations of the layout of the physical devices on my desk to get to the point I am at now. I just couldn’t find a way that everything fell to hand so I could control everything without having to look away from the camera.
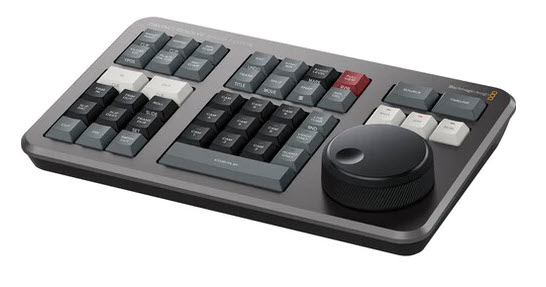
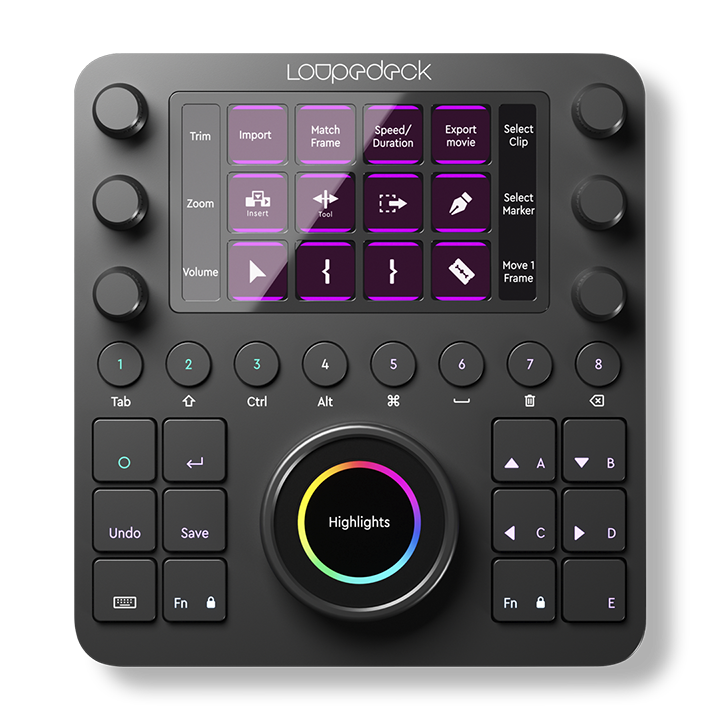 But I think I have finally found it, with the RØDECaster Duo to the left of my keyboard, and the Blackmagic Design ATEM Mini Pro on a raised shelf above that. To the right of the Blackmagic Design ATEM Mini Pro, I have a DaVinci Resolve Speed Editor for use with the editing software of the same name, and to the right off the keyboard, a Loupedeck CT which I have found an almost indispensable tool as a controller for DaVinci and Cinema 4D as well as other packages like Excel, Google Chrome, Outlook and more.
I could like many, if not most, do vlogging and create videos with a single camera, but coming very much from a video production background, I simply find this boring. Having the option to switch camera angles while broadcasting makes things much more interesting, and the extra facilities of the Blackmagic Design ATEM Mini Pro with the Media Library adds to this, along with other features like picture-in-picture, fades, dissolves and other transitions.
Further, having more than a single audio source also ‘spices’ things up beyond the norm.
With the video feed from the computer letting me mimic a 2nd (or even more) people in the ‘studio’ via Zoom, Teams, Skye etc gives additional flexibility to what things I can achieve in broadcasts, the 3rd camera allows more depth to the potential subject matter as it lets me go beyond a simple ‘talking head’ and the ability to record to hard drive and later edit lets me remove any rough edges or glitches before going to air if I want.
In actual practice, a broadcast might start with opening titles and music timed with Blackmagic Design ATEM Mini Pro based macros and then fade to input (camera) 2 (the Blackmagic Cinema Camera 6K Pro). The subject matter could be introduced with images perhaps showing software on the desktop (Input 1) and then a dissolve back to input (camera) 3 to give a different angle of the presenter.
This could be repeated as required, or even then switch to input (camera 4) showing the presenter walking towards this camera holding a prop (maybe a manual or book on the subject matter, or the object itself if it is hardware) and then have a demonstration of using it. If you have timed everything correctly, another macro could then kick in showing a series of full screen graphics letting the presenter return to the chair and return to input 1.
This brief description hopefully shows not just how flexible the system is,m but that it is also very capable with a bit of forethought of quite sophisticated broadcasting / video capture.
Conclusion
This combo of hardware and software I have does truly give me a complete recording studio or live broadcast facility for relatively low cost. And of course, if I want, I can dispense with the video component and instead have a complete audio recording studio for podcasts, musical instrument recording or indeed, even a live radio station.
Equipment Costs
Blackmagic Design ATEM Mini Pro $449.00
RØDECaster Duo $690.00
Sennheiser MKE600 $374.00
RØDE PodMic $138.00
Sennheiser HD25 Headphones $349.00
Samsung T5 USB-C SSD $160.00
Samsung T7 USB-C SSD $178.00
Elgato Mic Arm $139.00
OSEE LCM215E Monitor $1219.00
Cameras
I have tested this system, with a number of cameras in addition to the ones I use. These include Fujifilm X-S10, Fujifilm X-S20, Canon 5D, GoPro Hero 9, GoPro Hero 12. The only real requirements are an HDMI output and a “clean’ HDMI feed (no overlays).
Cabling
I have found through trial and error it is best to use premium HDMI cables and adaptors if necessary, especially if running more than 2 metres.
Additional Equipment
DaVinci Resolve Speed Editor (incl full licence of Resolve) $599.00
Loupedeck CT $809.00
SideshowFX Loupedeck DaVinci Resolve Profile $49.00 apprx
Other stories You Might Like...
 Updated: A Live Video Streaming Recording Studio for <$3K
 Blackmagic Design: New ATEM Mic Converter, Studio Camera 6K Pro, ATEM TV Studio HD8
 Italy’s Serie A1 Women Volleyball Championshio Uses Bespoke Multicamera OB Setup
 vpac’s XR Studio Uses Blackmagic Studio Camera 4K Pro G2 and Ultimatte 12 4K
 Tutorial: Streaming Setup Blackmagic Design ATEM Mini Pro Part 1
 Hollyland Releases Lark M1. “Professional Wireless Recording to Everyone”
 The Perfect Hardware Combo of Gear? My Choices. For Now Anyway…
 Never Overwrite Files With the Same Name Again
 What Size SD Card to Use? And Other SD Card Issues.
 Why Won’t My Video Playback from My GoPro (or other hi-res capable camera)?