I have had a number of requests as to what equipment and software I am using to make the tutorials (there are 3 so far and at least another 7 in the pipeline) I am putting together, collectively called 5 Minute Tech.
So here it is.
But first, whilst I would NEVER say I am a particularly good presenter, which is why I have purposely stayed behind the camera for 30 odd years – having written, directed and produced many video clips, long form tutorials, radio shows and even TV programs, I understand two basic truths.
- Viewers will tolerate the occasional video glitch, stutter between scenes and so on.
- They will NOT tolerate bad or out of synch audio – ever.
It is imperative therefore that equal time be spent on both aspects, and the gear you use has to reflect this.
Hardware
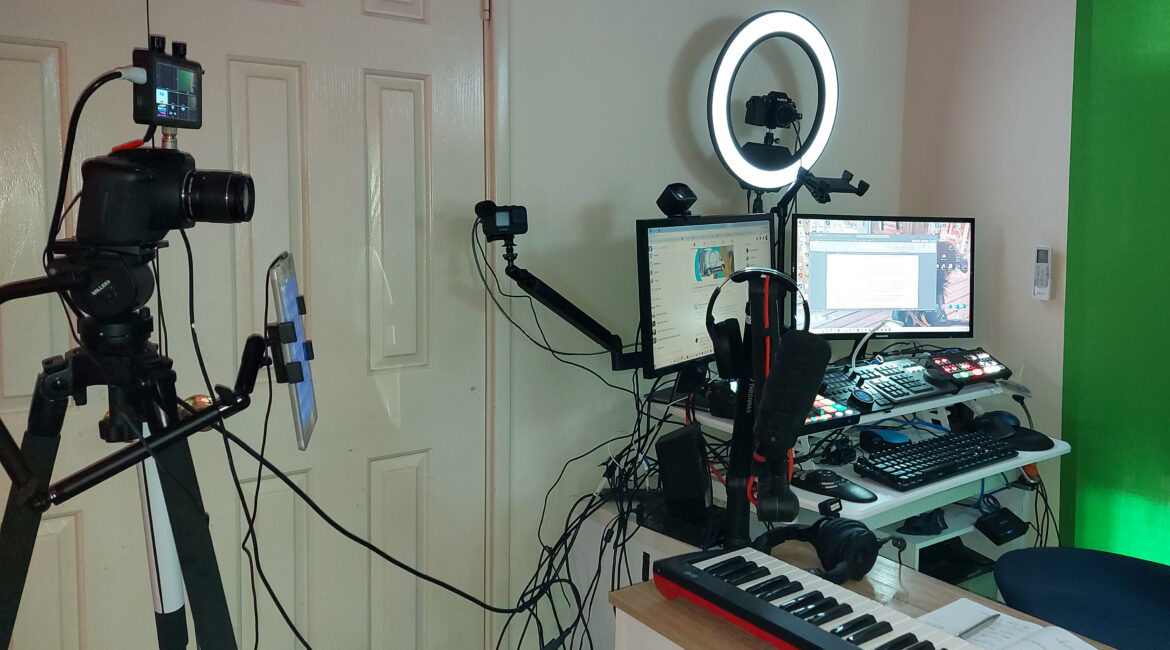
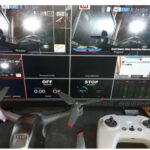
In my case, the main video is shot using a Blackmagic Design Pocket Cinema Camera Pro 6K which is an absolute delight to setup and use. It is mounted on a Miller Solo Tripod and on its cold shoe is a Hollyland Mars M1 wireless monitor. The camera is connected via HDMI to a Blackmagic Design ATEM Mini Pro which gives me 4 HDMI input video channels and one output monitoring channel which is what is connects the Hollyand MARS M1.
The 2nd HDMI channel is connected via an HDMI splitter to the output of my left monitor on the PC, so that if and when needed, I can capture what the PC is doing in terms of demonstrating actions with software. Channel 3 is to a secondary camera, a Fujifilm X-S10 which is on an Elgato mount between my two monitors point directly at me (the Blackmagic Design Pocket Cinema Camera 6K is at 90° to my left and I turn to face it when shooting to camera to place the green screen behind me).
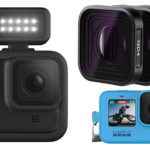
Finally, channel 4, which I have not used as yet, is to a GoPro Hero 11 inside a MediaMod and mounted on a workbench behind me and pointing downwards. The idea here for futures is to be able demonstrate non-video/photo things such as creating Arduino based electronics or assembling 3D printed models etc.
Audio is picked up in 3 different ways. So far I have been using either a Sennheiser MKE 600 or more likely, a Sennheiser XSW Digital Lavaliere mic. Audio monitoring is via a pair of Sennheiser HD300 Pro headphones and I have a pair of Sennheiser HD490 Pros for post production work.
I also have a backup mic in a RØDE PodMic that I use on occasion, and all three are connected to a RØDECaster Duo panel that also allows me to mix in sound effects and external audio from my computer.
By the way, I have to say, the RØDECaster Duo is a most amazing bit of gear for the price.
It is however matched easily in the video equivalence by the Blackmagic Design ATEM Mini Pro which long term readers will know I have been using for quite some time now.
As well as the video (and audio) mixing capabilities the Blackmagic Design ATEM Mini Pro offers, I can also throw in overlay graphics stored in its memory such as the lower 3rds, stings and any other I fancy to put in its 20 strong internal library, and if I wanted to, broadcast live to Facebook, YouTube etc at the single press of a button.
Alternatively, I can record directly to an SSD plugged into its USB-C port (I use a Samsung T5 for this).
I do use a teleprompter that consists of a Microsoft Surface on an arm attached to the Miller tripod and positioned in portrait mode just below the lens of the Blackmagic Pocket Cinema Camera 6K (I use a Canon 18mm-55mm on the Blackmagic and a 27mm on the Fujifilm by the way).
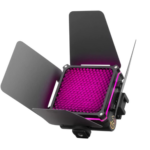
The final piece of the jigsaw is the lighting, and this is a simple 3-point affair of an Elgato Ring, Elgato Key and a Zhiyun Fiveray Molus 20 RGB unit.
Other ancillary hardware that is employed includes a Loupedeck CT deck, DaVinci Resolve Speed Editor and a Contour Shuttle Pro. These are not essential to the process but do make things a lot faster and easier in the long run.
Software
The teleprompter software is Teleprompter Pro, and for the price is sensational value.
For graphics, the majority are created in Adobe Photoshop, but screen snaps and adding transparency to images is performed by Techsmith Snagit, which also allows screen recording off the computer which is very useful.
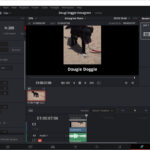
The final compilation is done in either Vegas Pro or Blackmagic Design DaVinci Resolve.
The reason I have both is quite simple; I have used Vegas Pro since around 2002 and know it backwards, inside out and upside down, letting me create finished product very quickly.
I am gradually moving larger projects across to DaVinci however, and when time allows, re-create what I have done with Vegas in order to learn the workflow process that DaVinci requires.
One last element which is a necessary part of the process is the green screen. This is courtesy of 3 metres of green cloth from Spotlight, some pine timber from Bunnings and 30 minutes work by Jacqui, my wife who is very handy with a saw, drill, hammer and staple gun (so much so she built our patio, pergola and veranda from scratch by herself over the last 4 years!)
Total cost of the green screen was about $20.
Conclusion
I know my productions to date are not perfect by a long shot, and future projects will be fine tuned as I progress and find better ways of doing things. I have never considered any project I have created as a finished product; there is always something that can be tweaked or done differently.
And finally, I am a great believer that the viewer is not there to continually see the presenter in the frame, so I recommend keeping that to a minimum.
It does take more time and effort to find material to fill those gaps, but this is where your inventiveness comes through and what can take a video from being a bit of a yawn to being one people really want to watch and recommend due to its creativity.
Other stories You Might Like...
 Tutorial: Creating GoPro Shooting Presets
 Review: Sennheiser Profile Streaming Kit
 Sample version of GoPro e-magazine
 Review: Zhiyun Fiveray M20C Lighting Kit
 The Perfect Hardware Combo of Gear? My Choices. For Now Anyway…
 Tutorial: Creating Lower 3rds for use in BMD ATEM Mini Pro Live Streaming
 Creating Instagram Reels with DaVinci Resolve
 New Video Tutorial: All About Creating Buttery Smooth Slo-Mo
 Especially for GoPro Users. An index of ALL My Current GoPro Related Stories.
 Which Camera Is Best? On a Cruise I Find Out. Hello Broome!