In the realms of astronomy, if you are only interested in moon gazing or even basic planet gazing, a decent pair of binoculars might suffice – although that makes it a bit trickier to take photographs.
No, what you really need is a telescope. But if you browse through any of the websites of telescope shops, you can be forgiven for getting very confused as to what to get. More on that subject in a moment though.
Let’s look at the camera first.
The Camera and T- Mount
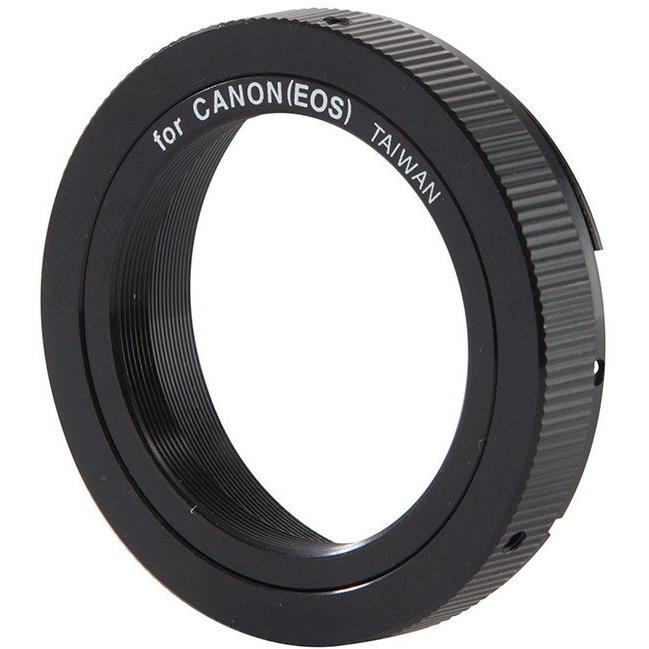
A camera is mounted to a telescope with a specific mount called a T-Mount (anecdotally the ‘T” stands for Tamron and not “telescope” as you may think, as this lens manufacturer apparently made the first one).
Using the T-Mount allows the telescope to be a sort of super lens for the camera. The first thing to understand is that you cannot get a T-Mount for every make and model of camera out there. Some, such as those for Canon and Nikon cameras are quite easy to find, and you may even discover your local Camera House or other camera shop has them in stock for standard Canon and Nikon models.
Others, such as for Panasonic, Olympus and Sony for example, might be a bit more difficult to track down, and I recommend you check with a dedicated astro shop such as Testar (www.testar.com.au).
Yet others are nigh on impossible to find; a while back I tried to find one for my Fujifilm X-S10, and even Fuji themselves couldn’t help initially, until one of their technicians tracked one down for me via Amazon.
And of course, for some cameras, they simply don’t exist. My advice would be that if you are going to buy a camera specifically for astro work, go with Canon. If you get an older EOS D model with an EF mount, T-Mounts are easy to find, and if you have a later R series, then an EF adaptor to take the T-Mount is also an off-the-shelf item.
But Which Telescope?
Once you have the T-Mount, obviously you need to choose which telescope to get, and again, advice from an expert is invaluable in this area. You have a couple of critical decisions to make though – apart from budget that is, although this will to a degree affect your choice.
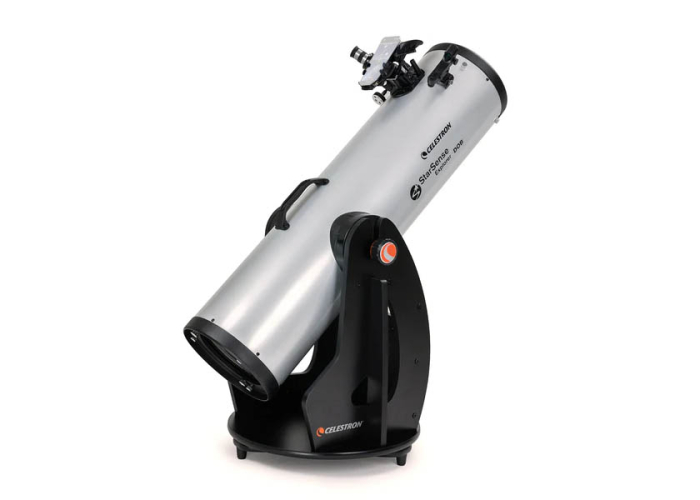
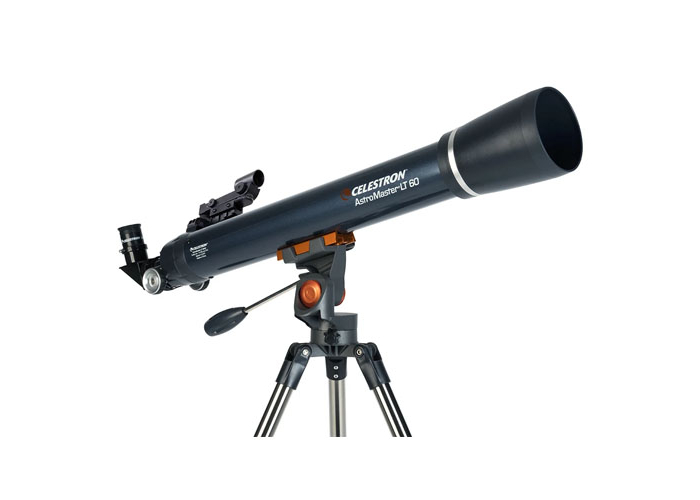
There are effectively two types of telescope – reflector and refractor. In simple terms, refractor telescopes are best for viewing planets and lunar details, and reflector telescopes are better for deep space objects such as galaxies or nebula.
Reflectors and refractors both come in high and low magnification: this is a function of the focal-length of the telescope and the focal length of the eyepiece. If you have a focal length of 1000mm and an eyepiece of 25mm, then you have a magnification of 40x (1000/25). This is independent of the type of telescope.
Reflector telescopes use mirrors to reflect the light resulting in visuals. They are generally cheaper than refractor telescopes as refractors instead use lenses to gather the light and these are more expensive to manufacture.
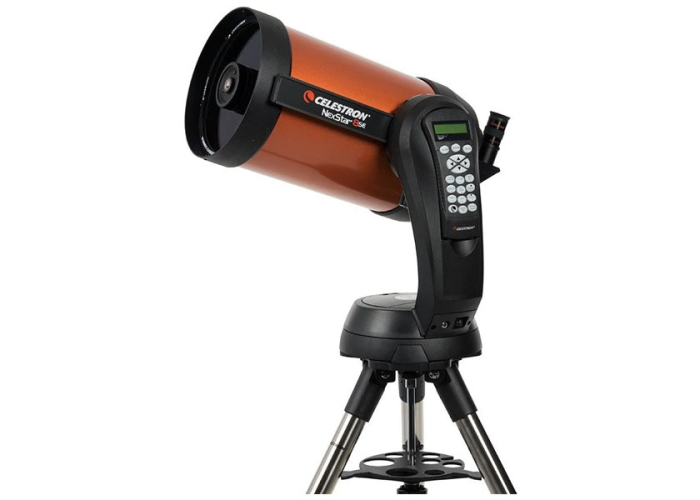
A third type is a hybrid between refractor and reflector types called a Cassegrain and these are made from a combination of curved lenses and mirrors. These telescopes are able to provide large diameter optics in a very short tube making them portable and convenient for use, but they are more expensive than reflectors. I have never used one so can’t comment either way.
My personal suggestion would be to start with a refractor and get used to using it before graduating to a reflector or Cassegrain. A good reason is that the art of photographing galaxies and nebula for the beginner can be incredibly frustrating, and you may even throw in the astro towel early in the piece.
Conversely, getting a decent photograph of the Moon or one of the planets with a refractor gives you a sense of satisfaction, and is not that hard to get early in the learning curve.
That is not to say you cannot get a decent image of the Moon etc with a reflector, as you can. But reflectors are not as efficient for viewing if you simply want to planet or moon gaze. And you MUST keep the mirrors absolutely clean and free of any contamination which can be tedious.
Mount and Tripod
The next thing is to decide on the actual telescope mount and tripod, and here I am afraid you cannot scrimp. You need to get a mount / tripod combo that is solid and reliable, with minute control over the telescope’s direction left and right, up and down and of course, height.
Once again, I’d point you to an expert to guide you. I decided on a Saxon equatorial mount recommended to me by well known Australian astronomer Steve Massey, and have not regretted it. Even when the whole telescope, mount and tripod was accidentally knocked over, the spare parts I needed were easily obtainable and not too expensive.
Generally the telescope, mount and tripod will come with all the necessary adaptors to attach the T-Mount on the camera to the eyepiece / focus mechanism. Just let your supplier know what camera and mount size you are using when you order to make sure.
Digital Advantages
My first telescope back in 1997 was a refractor and I used a Minolta SRT-101 film camera on it with mixed results. These days of course with the advent of digital cameras, things are far better as of you take a shot that is say, out of focus, and in the early days there will be LOTS of those – then you can know immediately, whereas with film you needed to await until the film had been processed.
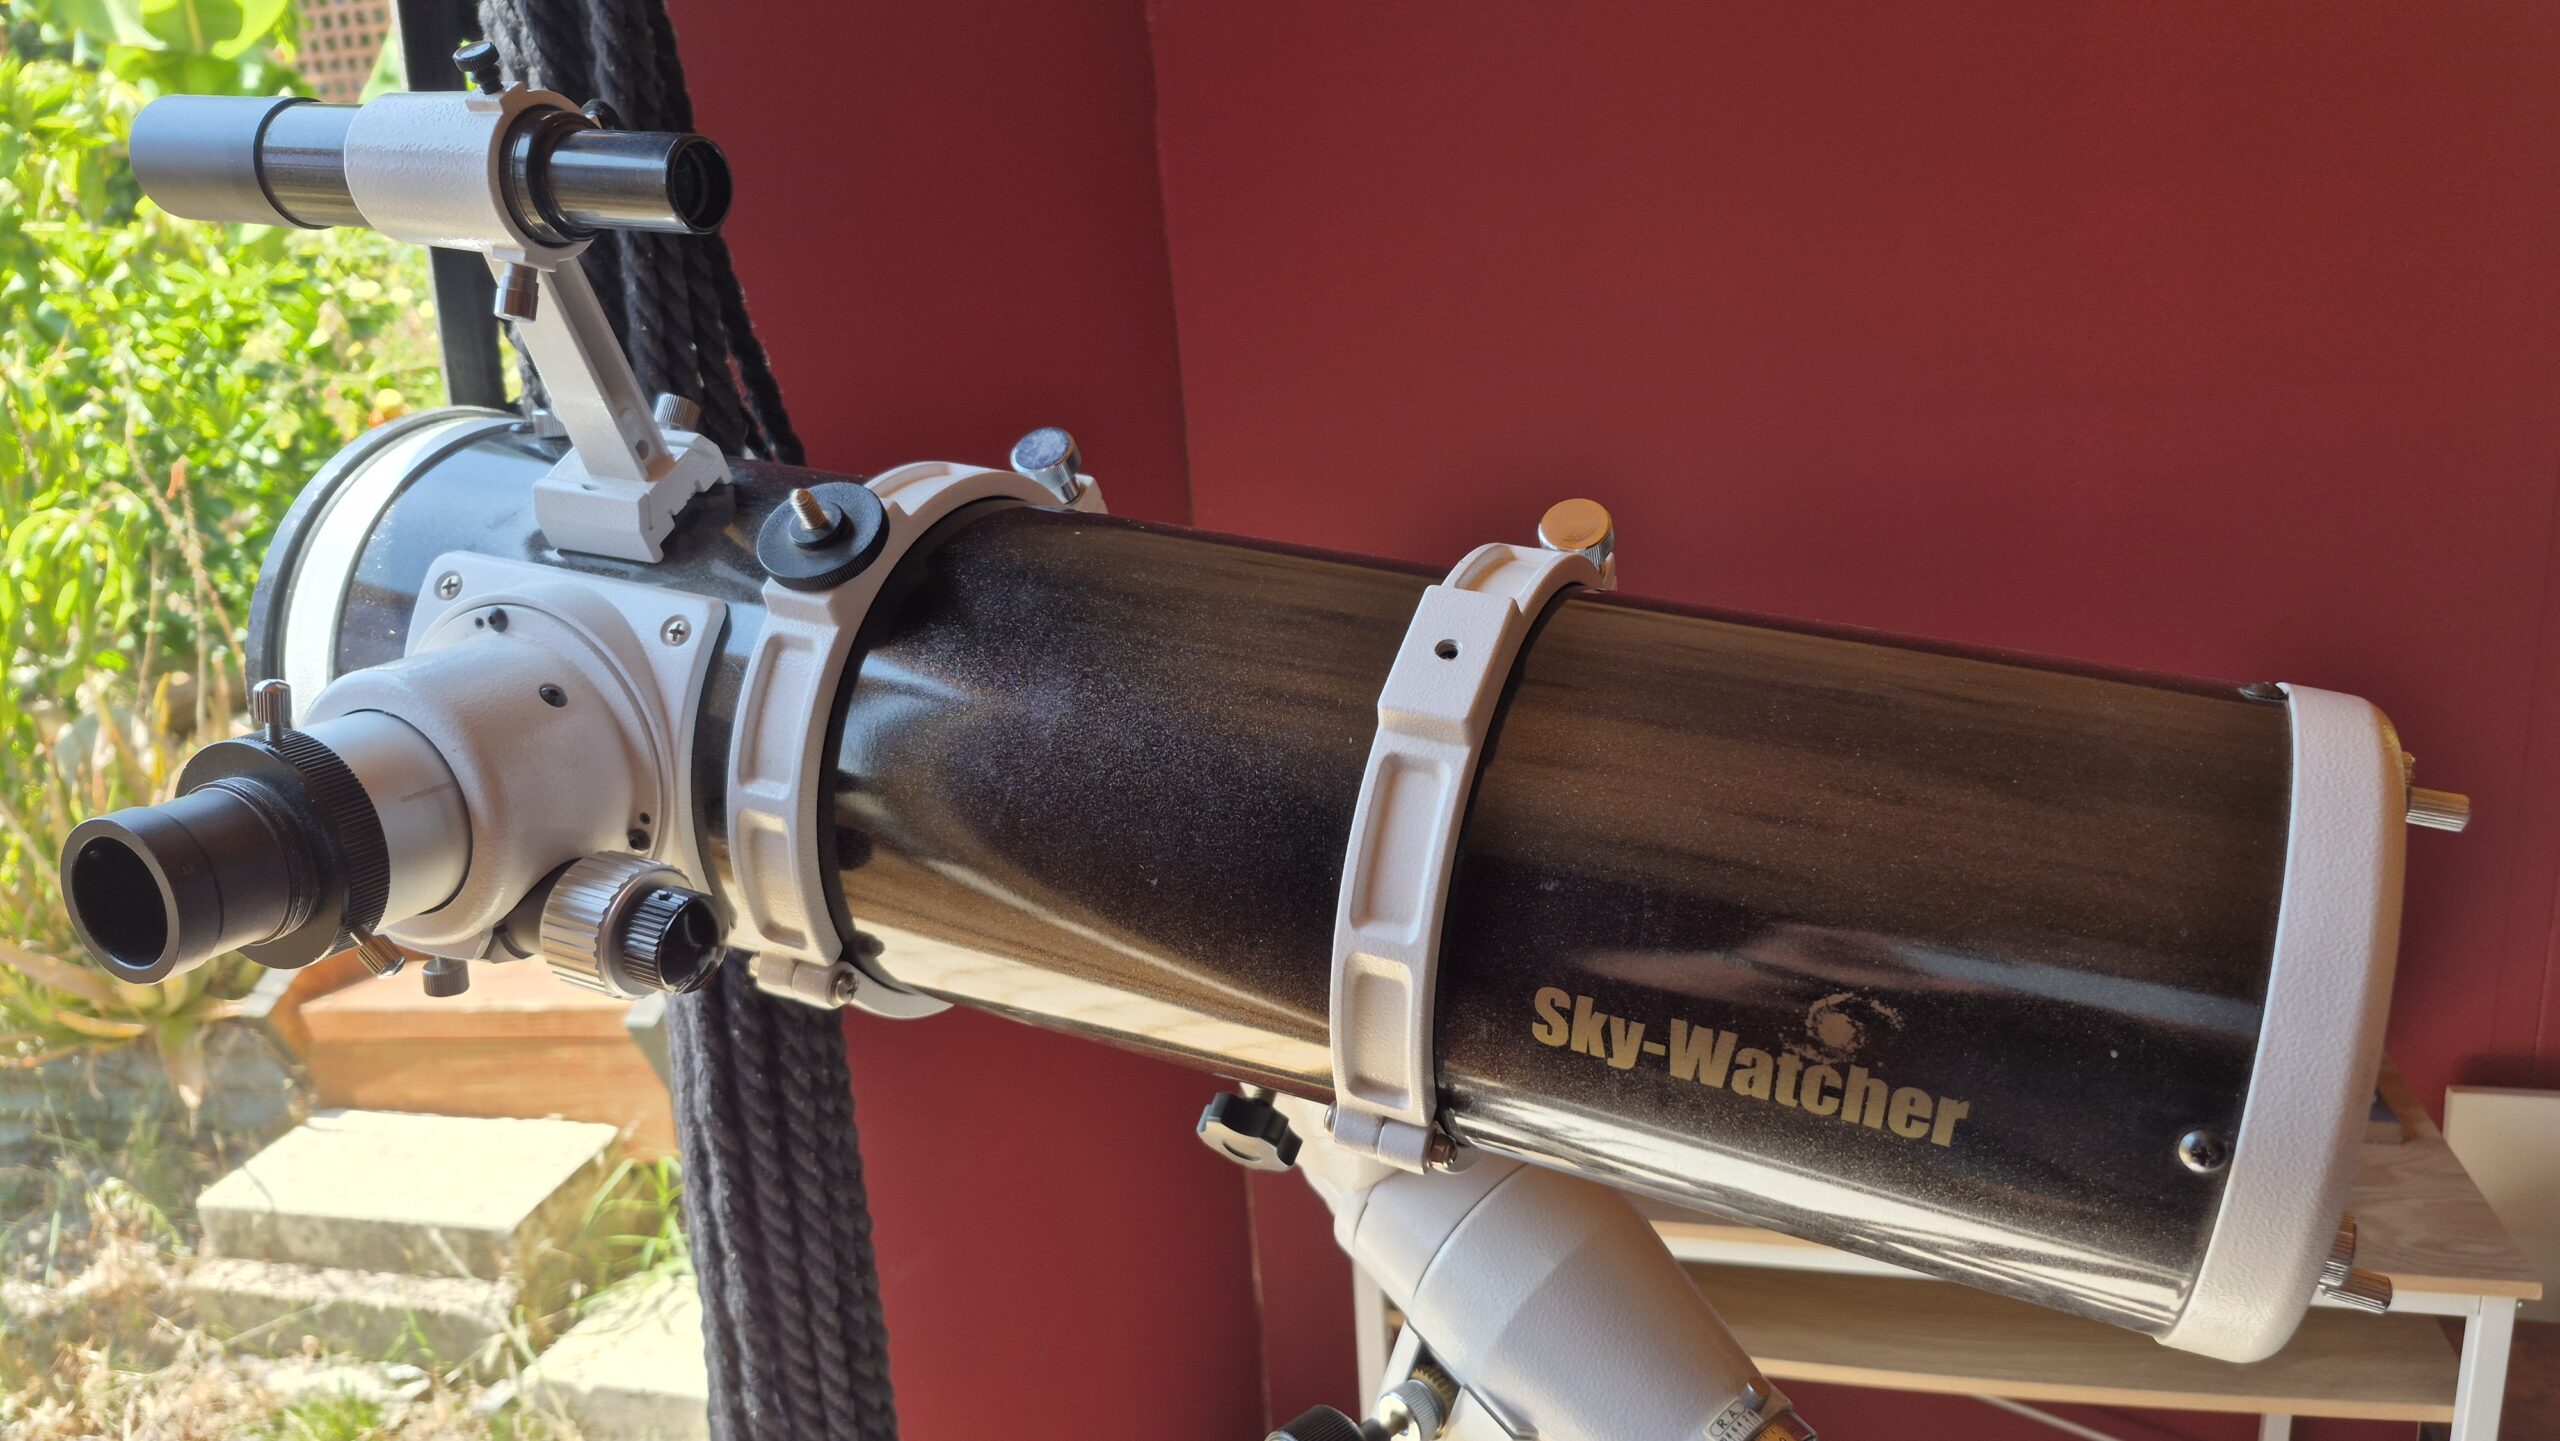
Today, I use a Skywatcher Newtonian F/5 reflector telescope that I have married to a Canon EOS 5Ds camera (although I am currently also testing a Canon EOS R8 with an EF adaptor) and get quite decent results. This telescope costs around $799 (before adding the tripod and mounting system).
Location Location…
One very big final consideration is WHERE you are going to put the telescope. You need to bear in mind two things; the amount of external light you are going to get that will interfere with your shots – streetlights, car headlights etc, and the amount of uninterrupted sky you have available.
For example, in my backyard at night, I have a decent arc from due west (W) to east north east (ENE) before streetlights and light from passing cars encroaches. This of course means my access to different parts of the sky is restricted unless I take the whole telescope assembly out to the front yard in the wee early hours!
Conclusion
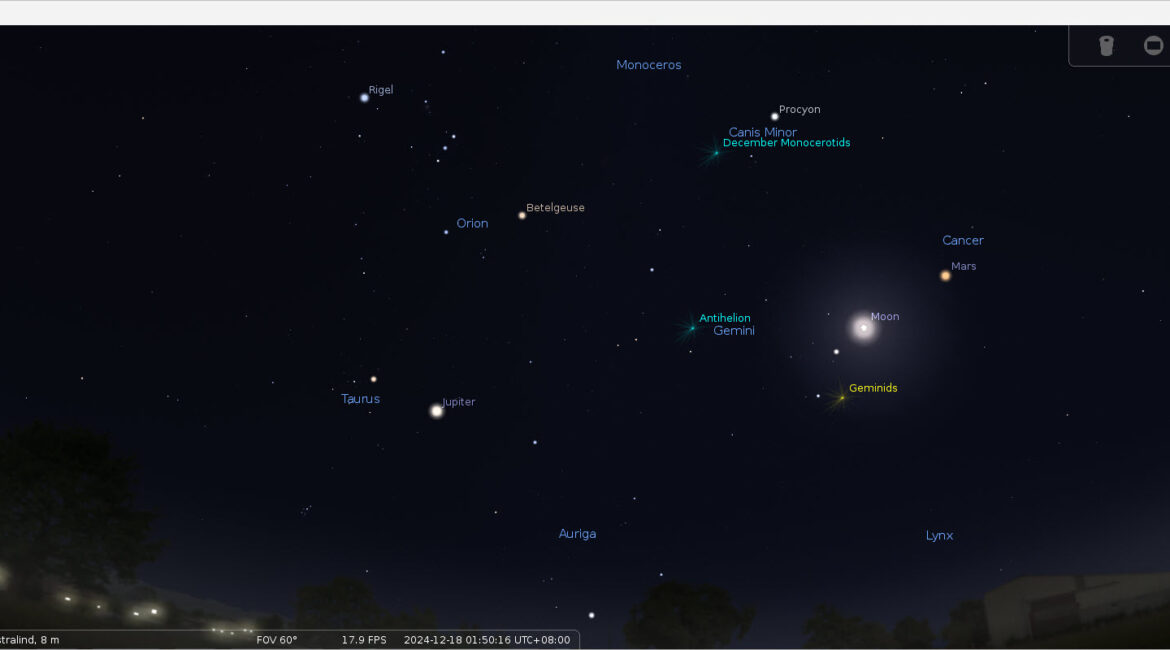
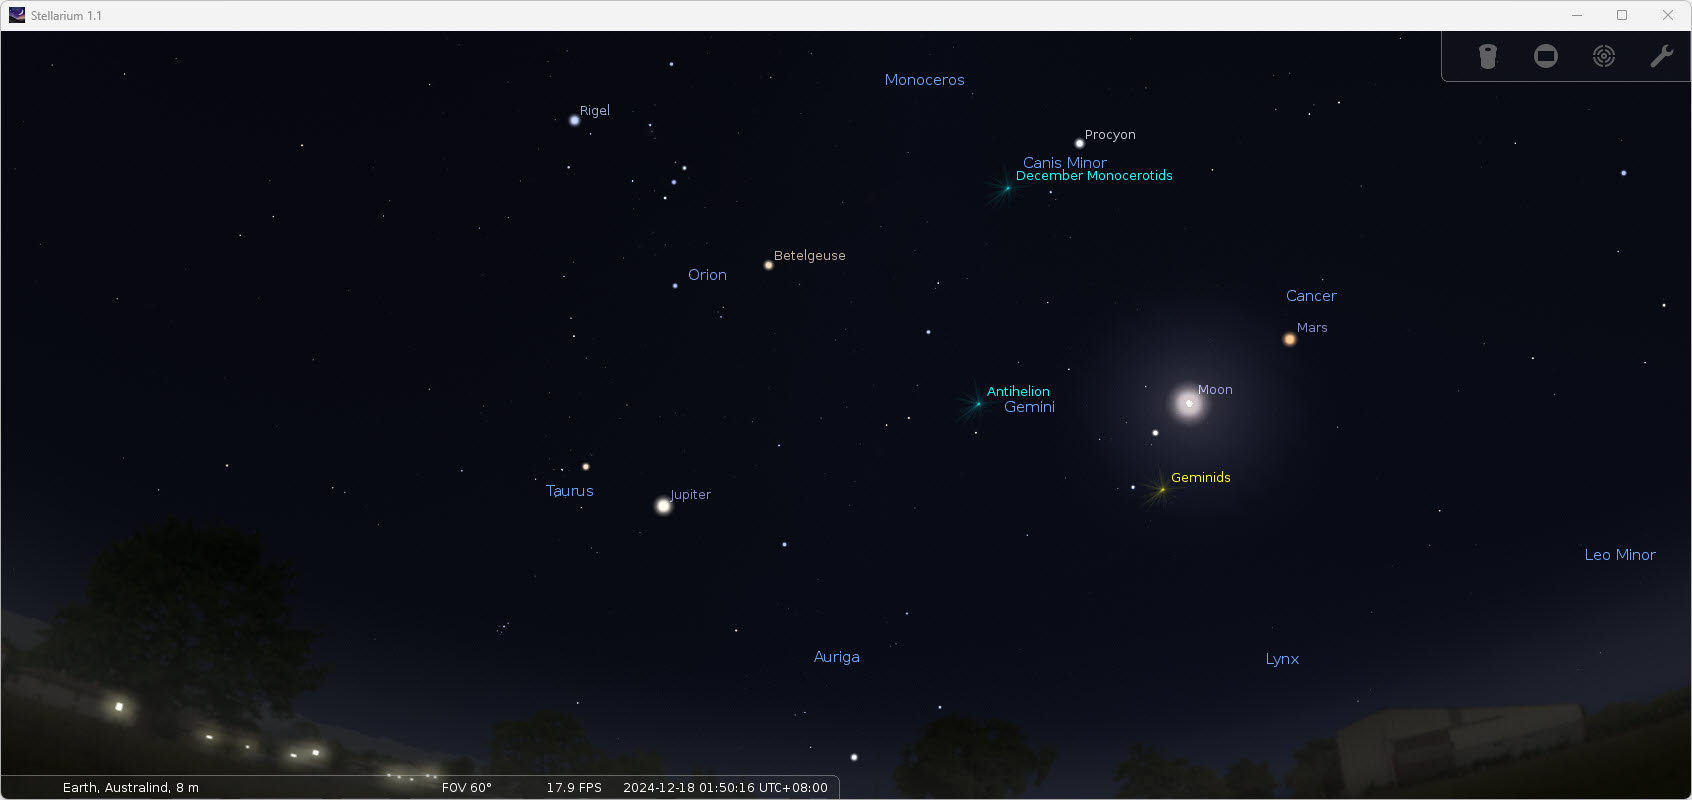
Finally, to reiterate what I mentioned in Part 1 of this series, two invaluable companions for your astrophotography are the free Stellarium program and the very modest cost PhotoPills app. They will assist you immensely and I highly recommend you get them and learn them.
By the way, Part 1 of this series is here.

