If you wanted to inexpensively get into 3D modelling, then your best bet is to get a copy of Blender which is free (and available for Mac, PC and LINUX), and I highly recommend the “Dummies” book on the subject, although there are many excellent online tutorials too.
I have used Blender, but choose to use Cinema 4D which I have been using now for over 20 years and is excellent, although being a fully professional piece of software capable of far more than I’ll ever use, is not inexpensive.
3D creation can be used for a number of different things; overlays into videos using motion graphics, creating titles, building architectural “walk throughs” and “fly throughs” spring to mind.
But another option is to use a 3D printer to physically make models you design on screen.
As an aside hobby, I do just this to make buildings and other structures for model railways, and I find it very satisfying – and frustrating at the same time as any modeller knows.
How it Works
To many, 3D printing is a bit of voodoo magic so how does it all work? Well, there are two main types – filament printers and resin printers. For this article I’ll just explain the filament type.
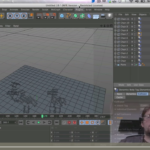
In simple terms, a special file is generated in the 3D software and sent via a host program to the printer. These are generally known as an STL file (for stereo lithograph), and then converted to a specific “G-Code” the printer understands.
To create the model, a filament on a reel is used and via a heated nozzle, builds up layers to make the completed model.
As you can imagine, it can be a slow process. The roofing structure you see in the first video took 9 hours, and the wall in the second, around3 hours.
Video 1
Video 2
Filament
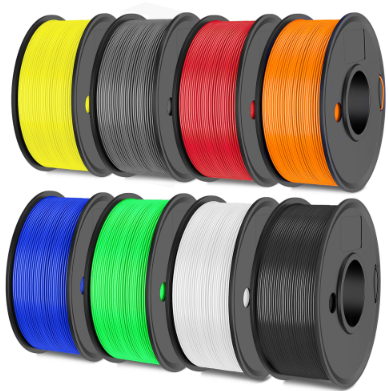
There is a vast range of colours of filaments available, and even different filaments for different purposes, with the most common probably PLA. There are also many different brands you can get, and after trying a LOT, I have decided to stick with a brand called CS3D, which coincidentally is distributed locally less than 5 minutes from where I live. A 1KG roll will set you back around $22 and from that you’ll get lots of models in the HO gauge which is the model railway size I use.
Once you have built your model, it can then be painted using common everyday poster paints, and if you have to assemble a completed model from parts, simple Superglue (I like the Blue Loctite version) can be used.
Which Printer
So which printer?
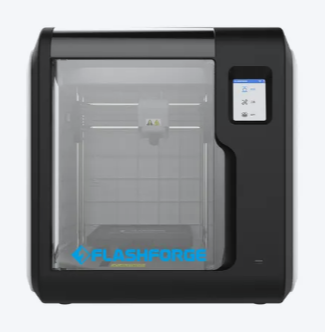
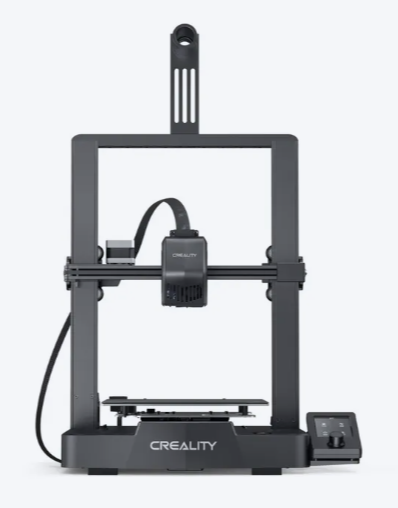
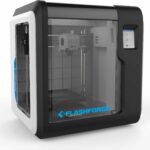
Assuming you are just starting out, you won’t want to spend a lot. My first was a $699 Flashforge Adventurer 3 which allows models up to 150mm x 150mm x 150mm. Later on however, I purchased a Creality Ender-3 which was half the price and allows models 220mm x 220mm x 250mm which is a HUGE difference. It is also a lot faster – possibly 3 times as quick as the Flashforge model.
You should be able to view either of these printers working in a decent store selling this gear. Just do a Google search to find one in your area and if you have any further questions, I am happy to assist – just drop me a line!
If you just want to print models and not be bothered designing them, then check out the website called Thingiverse – there are literally 1000’s of models there you can download ready for printing, many of them free.