The gimbal has come a l-o-n-g-way from being a simple camera stabiliser. The latest models from companies such as DJI, Feiyutech and Zhiyun these days incorporate sophisticated electronics and add-ons far in advanced of their predecessors.
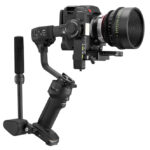
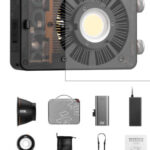
The latest for me is the flagship model Weebill 3S from Zhiyun – which recently also branched out into the lighting game with some interesting LED units under the MOLUS name.
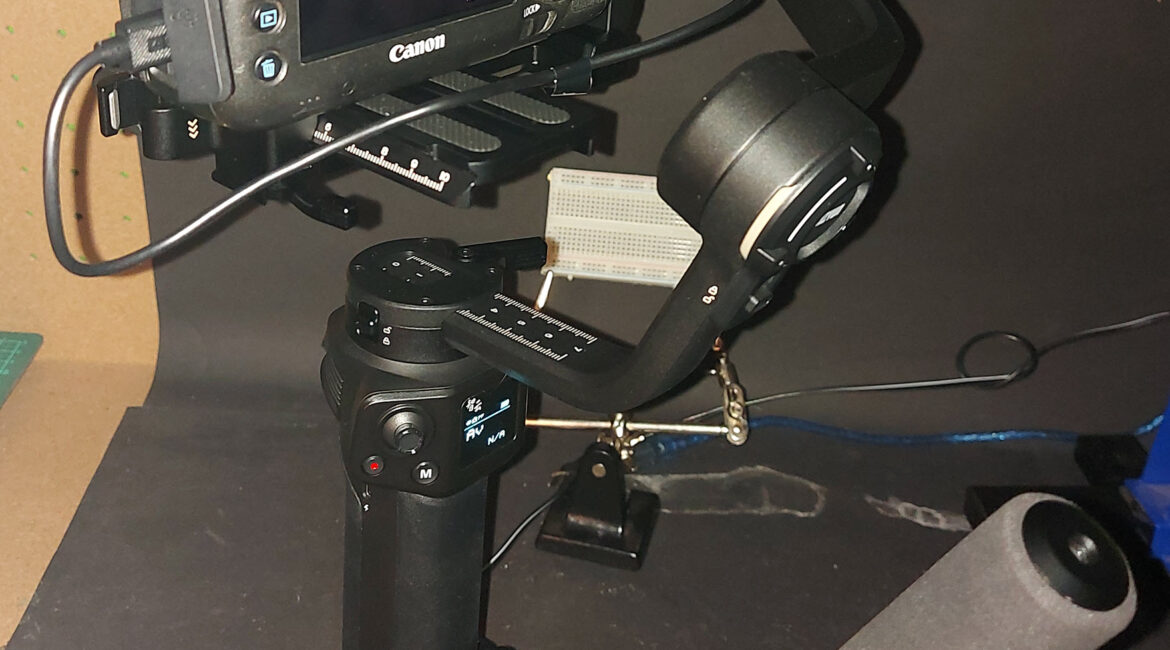
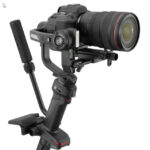
The Weebill 3S (a Weebill by the way is a teeny, tiny Australian native bird), is designed to carry a larger camera system, and as such, is a perfect foil for my Blackmagic Design Pocket Cinema Camera 6K Pro. As a bonus, it also supports my Canon 5DS with almost complete camera control, and due to this, I am using the Canon for the purposes of this review as the BMD camera is not able to take advantage of the gimbal / camera control integration at this stage sadly.
As I have mentioned before, an operation a couple of years back for Carpal Tunnel Syndrome means I have less than perfect right wrist strength, and let’s be honest, despite the “Pocket” moniker, the BMD beastie is no lightweight! Even in a cage (I have one from SmallRig), it is a bit of a chore for longer shoots – and I mean 10 minutes at best.
Zhiyun say the Weebill 3S has been designed such that you can “save 40% effort”, and a large part of this is due to the innovative sling mode system it has incorporated along with a wrist rest. This aids by separating the weight and placing it more on the arm than the wrist, which in actual use is very evident.
To cater for the larger camera, the axis arms are 10% longer than previous models, and this also helps with better balancing.
Other innovations on the Weebill 3S are a built in LED light and noise cancelling mic which I’ll get to shortly. And one thing I do like on the newer generation gimbals – and off memory was started by Zhiyun but I may be wrong – is the addition of a separate plate used to mount the camera onto the main backing plate.
This means that if you predominantly use the gimbal with one camera, once it has the camera mounted and balanced correctly -ie all the axes are in the optimum position for stabilisation – there is no need to re-balance every time; only the occasional check is needed to fine tune. This is because the main system stays in place and only the camera and sub-mount is removed.
In the Box
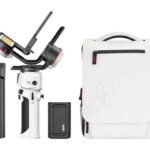
Well “box” is a bit of a misnomer in this case as the Weebill 3S Combo system I was shipped is in a nifty carry case / backpack combination that also has a separate small compartment at the base for a camera, as well as side pockets for bits and pieces.
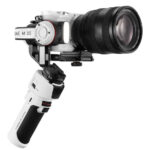
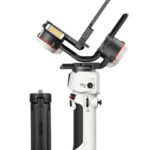
The full kit comprises of the Weebill 3S gimbal, a small tripod that screws into the base of the gimbal via a standard tripod thread, camera backing base and quick release plate, a lens support attachment, ¼” screws and magnetic Allen key and a selection of USB cables.
You also get the sling grip, wrist rest and wrist rest base. You also get a Quick Start Guide which is pretty basic, so if you want more, all documentation including a comprehensive user guide is available to download.
Assembly of the Weebill 3S complete with the Sling Grip and Wrist rest takes about 10 minutes.
One trap I did find was that the bezel for mounting the Sling Grip initially appeared to me be missing from the packaging, and it took me a few minutes to realise it has already been screwed to the handle, which was pretty pointless as it had to be removed to first add it to the gimbal proper. Once that was all sorted, all that was left then, initially at least, was to charge the gimbal up using the USB-C cable and then balancing with the camera mounted.
Fast PD charging is supported with a full charge in around 2 hours giving a purported 21 hour runtime which is very impressive.
Balancing
I remember well my first attempts at balancing a gimbal and camera. It almost drove me nuts as I was somewhat shooting in the dark with only small diagrams to work from and these images were less than clear. I finally found a 3rd party online video that helped, but even so, I suspect it took more than a few hours of frustration before success.
Since then I have balanced countless gimbals, and now, I know the sequence, pretty much have it off pat, able to do it in around 5 minutes once the camera is setup and mounted and all the arms are unlocked.
There is no shortcut way to balance a camera on a gimbal; it is a process that MUST be done correctly in order to get optimum results from using the gimbal / camera combo. If you are having trouble, I suggest a quick YouTube search will pop up something of use.
I found some official Zhiyun tutorials here for example.
One major thing to know about the Weebill 3S is that unlike many gimbals, you can set the camera up in both landscape and portrait orientations which is very useful for the Ticky Tockers etc out there.
Gimbal Buttons
The Weebill 3S has a combined 8 buttons, switches, joystick, thumb wheels and triggers that perform various actions depending on the mode and the number of times they are pressed.
These are:
Joystick: Manually controls the gimbal in its up / down / left / right and rotation.
Photo / Video Button: Take a photo, start/stop video and on supported cameras activate auto focus.
Mode Switch: Sets the mode the gimbal operates in eg Pan Follow or Point of View, as well as sleep / wake the gimbal motors.
Power Button: Turn gimbal on or off.
Menu / Return Button: On Screen Menu Navigation.
Control Wheel: Onboard light on / off as well as colour and brightness intensity and colour temperature.
Trigger: Gimbal positioning and selfie mode.
Adjustment Wheel: Adjust parameters in on-screen menus.
Menu System
The on-screen menus let you control every aspect of the Weebill 3S as well as such things as calibration of the motors. Generally speaking, unless something drastic happens such as dropping the gimbal from a height, such parameters as motor torque and other deeper options should not need to be tinkered with – unless you are a stickler for knowing EVERYTHING about your gadgets like me!
Either way, it is wise to get familiar with the menu system so you can quickly and easily drop into it when shooting to change things on the fly.
Bluetooth
Whilst some cameras cannot take advantage of the higher end control systems available (such as my BMD Pocket Cinema Camera 6K Pro), they may still be able to use their Bluetooth capability to connect to the Weebill 3S and give access to shutter control via the gimbal controls.
Again you may need to check the camera compatibility list as sometimes you need to change how the Bluetooth is setup in the camera itself for this to work.
Have a Play
Having tested many gimbals over the last few years, I have found the best way to come to grips with them and learn exactly how to get the best out of any camera / gimbal is to simply play with it under different conditions and shooting different ways.
If you have used a gimbal before, the Weebill 3S is different in that the addition of the sling grip and wrist rest does make for a different experience – albeit in my opinion a far better one.
The Zhiyun Weebill 3S is a delight to use, letting you use a bigger camera to get butter smooth shots from different angles and with minimal wrist and arm strain. As I said earlier, if you have never used a gimbal before, it will take practice to become confident with one and get the very best from it, but the perseverance is well worth the results you will get.
The Weebill 3S is available in two configurations – a basic unit and the “combo” pack. I would highly recommend the combo option as you also get the backpack, tripod and other goodies in the pack. The combo is AUD$849 and the standard pack is AUD$629, but as always, shop around and see who has deals at the moment.
For more informatikon see the Zhiyun website.

