Back when Noah was in gumboots (almost), I went to school – which some may find hard to believe. And when I went High Schol, unlike every other boy in the classroom, I opted to do art instead of technical drawing.
I only lasted a year because no matter how hard I tried, I simply couldn’t put my imaginings into painting or freehand drawing. This meant I had to cram 3 years tech drawing in to two, which I was surprised to find I did quite easily and actually gained a distinction.
It seems my brain can work with logical things like angles, length and depth, but abstract stuff just defeated me.
Much later when I got into the computer industry, I was lucky enough to gain a full AutoCAD course, and I loved it and managing as a result to sell quite a few fully blown AutoCAD PC systems.
But then I was introduced to a program called Micrografx Designer, an early vector based drawing program for Windows, and thought aha! Now I can at least realise my artistic visions.
But nope. Transferring what was in my head to computer screen this time, still evaded me. This led to Cinema 4D, a program I use to this day for all sorts of purposes, but as it is geometry based, my tiny mind manages to understand the way it thinks, and whilst not an expert with it, I manage to get done what I want using the program.
At around the turn of the century, I came across ZBrush, which was a weird sort of beast at the time – a sort of cross between Windows Paint, a 3D package and a CAD program that used sculpting as its metaphor but based around geometry. I reviewed it at the time and have kept a sideways eye on it ever since, but not really had the inclination to explore it much further.
A few years back now, ZBrush’s parent, Pixologic, was acquired by Maxon, the owners of Cinema 4D which opened it up to a much wider market of course.
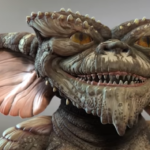
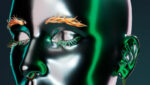
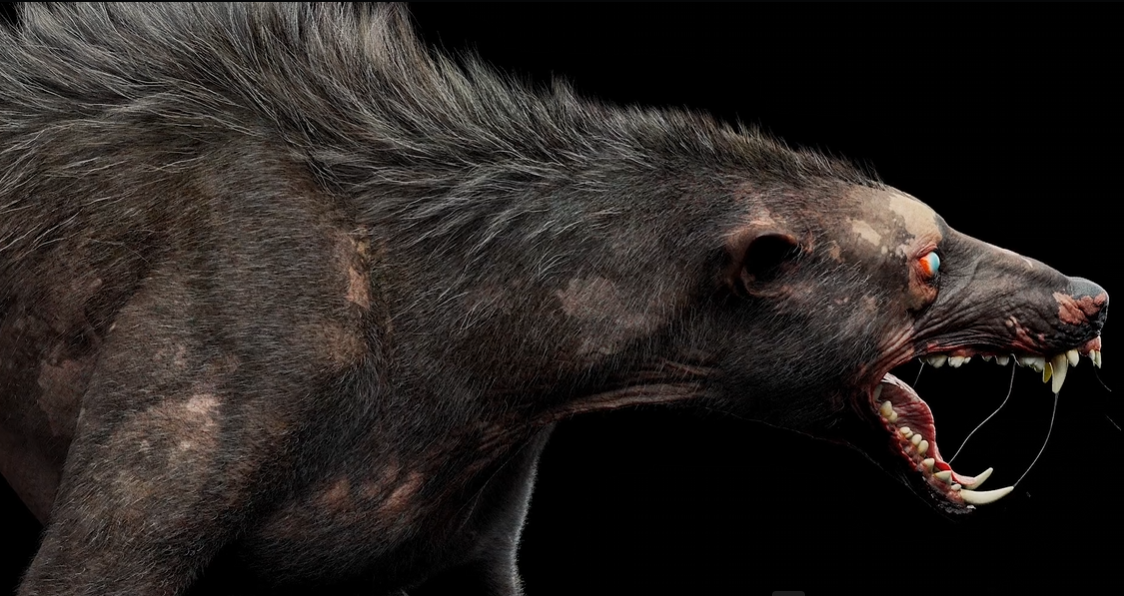
Recently I read that ZBrush had been used for conceptualisation and realisation of environments, characters and visual effects in such movies and video games as Avatar, Lord of the Rings and Assassin’s Creed, so thought it might be the time to have a better look at what ZBrush was capable of, how hard was it to learn and use, and whether I could finally get some ideas into a semblance of artistic form.
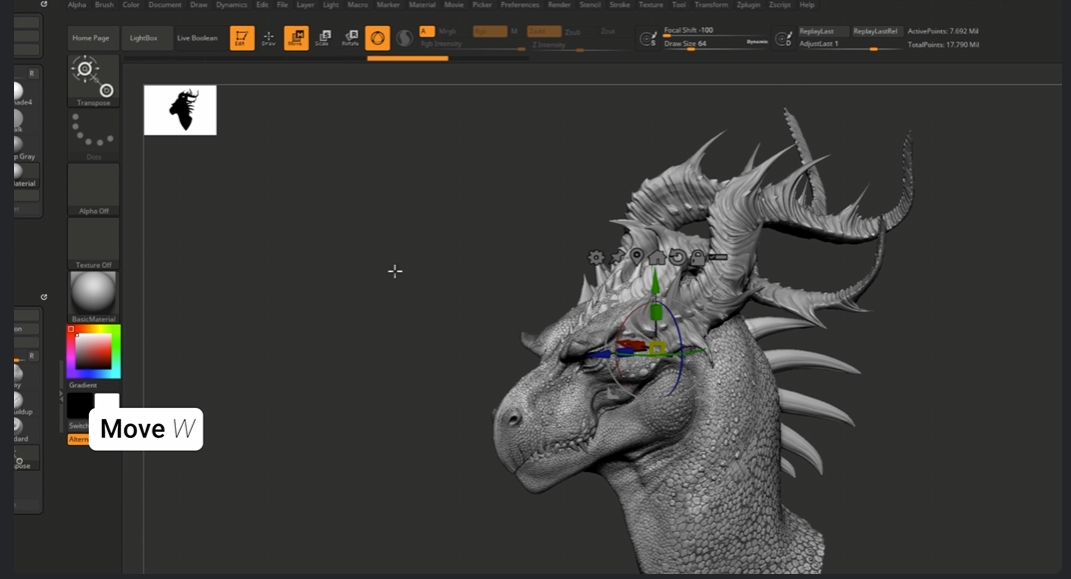
UI
When you start ZBrush for the first time, the interface can be a little daunting as there is just so much going on and I really recommend having a look at the tutorial detailed later in this review lest you be overwhelmed and simply give up at that point. Thankfully, you can massage the UI to your own needs it being fully customisable.
Brushes
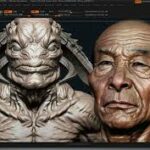
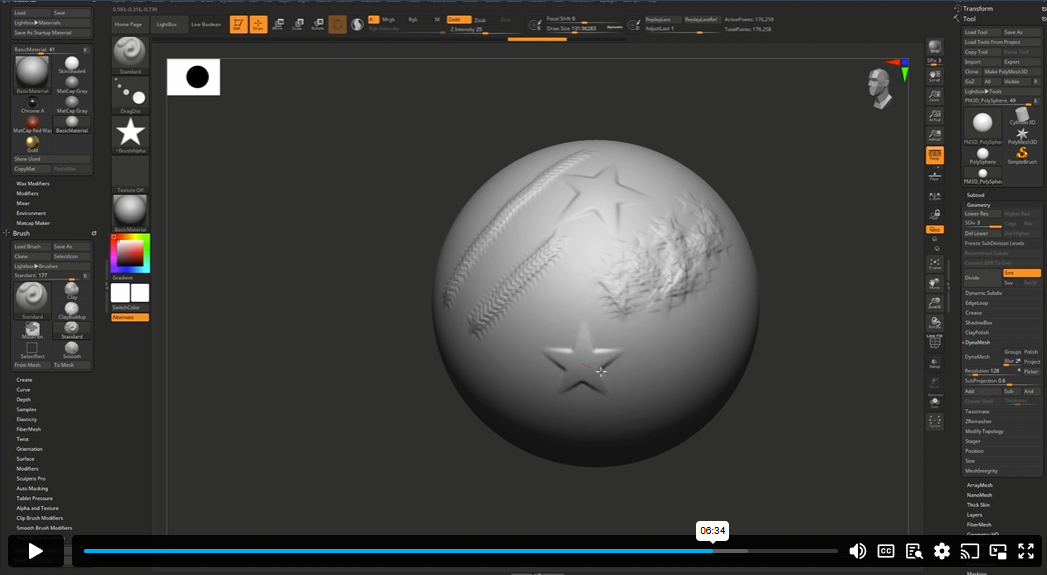
A key component of ZBrush as the name might suggest are the brushes. These – and there are LOTS of ‘em, each customisable – allow you to paint textures onto a mesh created from primitive objects. Various parameters can be set to change the colour, material, texture, size, intensity, softness, depth and more of a brush on the fly, with each available from a series of palettes. You can also change the alpha of a brush which defines which part of a brush stroke will contain the alpha channel or transparency.
Other brush types include extrude, move, cloth, “snake hook”, knife and many more. So a brush its not so much a painting tool but analogous to a sculptor’s knife or palette letting you modify a mesh in infinite numbers of ways.
One neat trick is called Symmetry. Imagine you were sculpting a monster’s face, using the symmetry option allows you to build and modify both sides of the face at the same time. Another example would be building say a car’s body making sure both sides of the vehicle are identical. The axis to contain the symmetry can be altered too, so that all three x, y and z axes can be chosen as the centre line at will or indeed any combination of the three.
Like the brushes, there is a bunch of other options you can change to change the symmetry parameters.
Primitives, Meshes and Models
Like many 3D programs, there are multiple primitive types you can use as a starting point for your models to be sculpted such as cylinders, spheres, torus and so on. Once a primitive has been chosen, it is converted into a mesh in order for the points and surfaces to be manipulated.
As well as the size of a primitive, you are also able to alter other aspects of it such as the x,y and z dimensions, number of faces, number of divisions and even distortions like twist.
In addition to primitives, ZBrush ships with a suite of models – people, animals and more- you can start using immediately and modify to make them, well, whatever you wish.
Other Tools
A myriad of other tools are available for ZBrush adding to the flexibility available such as masking and sculpting tools, polygroups, dynameshs and more. Once these are learned, I’d venture you can create just about anything your imagination can dream up.
You do have to have a bit of mindset change to get your head around it, I am the first to admit, but the effort is well worth the results.
Training
Thankfully, to assist in this, Maxon have what they call Cineversity, a web location containing training, tutorials and forums for all of their applications. I found a 30 chapter video tutorial that covers every aspect of ZBrush from the interface through all the tools and more that greatly assisted me to get the basics of the program. Each chapter is no more than a few minutes long letting you run at your own pace and return to it as needed.
You can find it at https://cineversity.maxon.net/en/series/getting-started-with-zbrush and it is well worth a look to see if the program will suit your needs and there is a free trial available from www.maxon.net/zbrush .
Cost
Like many apps these days, ZBrush is on a subscription only at USD$770 per annum. There are versions for Windows, Mac and iPad available.
To see some samples of what ZBrush can do, Maxon has placed a showreel at https://www.maxon.net/en/zbrush