Our resident Vegas Pro expert, Dr David Smith, has been exploring the new Vegas Pro 20. Here is the first of a number of articles, this one having a look at playing around with colour curves
I am thoroughly enjoying exploring the many new features in Vegas Pro 20.
One extremely useful feature lives in the Colour Grading group which is accessed by a little brightly coloured button beneath the timeline.

Fig. 2
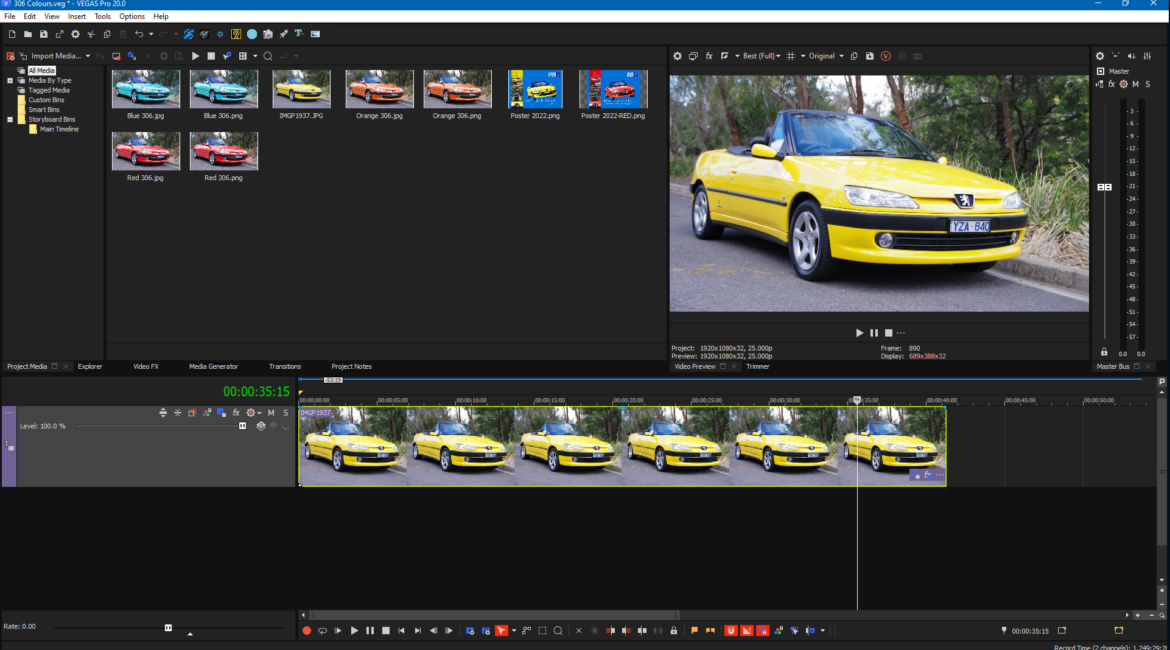
Just for fun I thought I’d try using this system to ‘repaint’ my little Peugeot – or at least a photo of it. The car’s bright yellow, or ‘Sundance Yellow’ according to Peugeot.
First up you choose the HSL Curves tab, then click on the yellow button. A yellow dot appears on the horizontal line.

Fig. 3
Then you double click on that line at a couple of points either side of the yellow dot. The position of these new dots sets a limit on which colours can change.

Fig. 4
To change the car colour, simply drag the yellow dot up or down and watch the car change colour. How do you like my green Peugeot?

Fig. 5
It’s that simple. Having the preview set to BEST quality, you just save the file as a .jpg or preferably a .png and it’s done.

Fig. 6
I’ve used the split screen function to bypass the effect in the right half of the preview window.
Of course this Hue Colour Curve effect works brilliantly on any of your videos.
And while we’re exploring Colour Grading, check out the Utilities tab in the left hand group of options. This is a very simple and effective way to get your white balance corrected. Just click on the little target icon called ‘Select Neutral Tone’ and place it over a grey or white region in your image. The white balance will automatically adjust as shown.

Fig.7.
You can either do this with a single click, or you can drag the cursor over an area which will then be sampled as the neutral range.


These new tools are very simple to use and are great time savers. I’ll explore more of them soon.
Check out lots of David Smith’s videos at www.imaginaction.net.au.


