
If anyone watches sport on TV, one of the favourite things a director will do is employ the use of slow motion to repeat a scene that had some action in it. It is particularly used in my shooting discipline of motor sport, usually using a close up Slo-Motion action of a wheel turning, or slowing down an accident or similar.
In the broadcast world, various methods have been used throughout the years as technology has improved. Initially, a dedicated videotape machine would be constantly recording camera feeds, and when a segment had been captured and was deemed worthy of slow motion, the tape, would be rewound, cued to the right spot and then played back at a slower speed.
Today, digital techniques are used to capture rather than video tape of course, and this allows for much more control and faster “turn around” time from the actual event to play back.
Cameras for capturing Slo-Mo have also improved. As you may know, in Australia, “normal” capture speed is 25 frames per second (fps). In some countries they use 29.97 frames per second – yeah I know, but it’s complicated and stems from back to analogue TV engineering and compatibility concerns when colour was added. You can find out more here if you wish.
To get decent Slo-Mo, the frames per second are increased, and then played back at a slower rate. So, for example, if you shot for 10 seconds at 50 fps and played that back at 25fps, your clip would last 20 seconds and play at half the speed it was shot in.
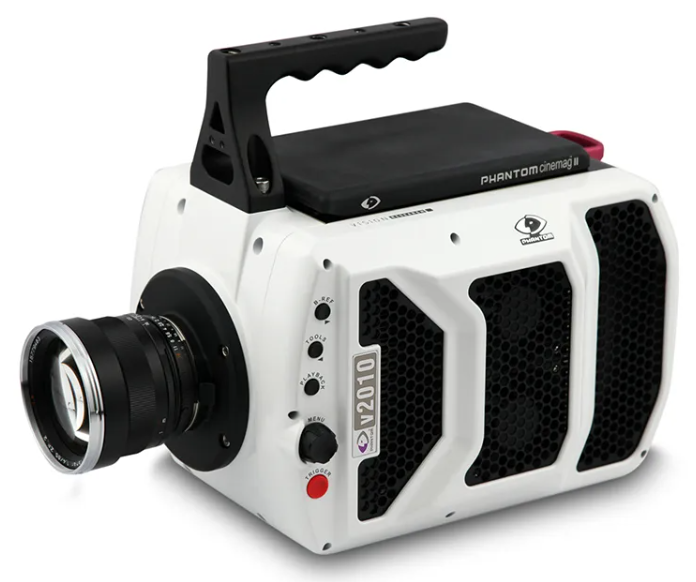
TV motor sport Slo-Mo is generally shot (I understand) at 50 fps and then played back at 25% of that, although some do have dedicated high-speed cameras in some locations. Fans of the TV show Mythbusters may remember episodes where they were capturing guns firing bullets, and for this a special camera was used called a Viper V-2010 and this shot 73,000 frames per second!
What you can get out of your camera very much depends on what fps it will allow. And you also have to take into account other settings that will affect the quality of the footage. Here again, I stress it is necessary to understand the basics of photography and videography to get this to work, specifically the relationships between shutter speed, aperture, ISO and depth of field. I have tutorials on all these at CreativeContent CC-TV on YouTube.
Basics of Slo-Mo
In short, the faster the shutter speed, the less light gets in and of course, imaging needs light. So, to get more light you can open the aperture (the lower the aperture number the more light comes in). But this then affects the depth of field – what is in focus and what is out of focus in the frame.
This too can be compensated for by upping the ISO, but this adds another bad element potentially of graininess or noise in the image.
See what I mean? You need to understand all these factors in order to get the right balance for decent footage.
Another way is to use ND filters. In short, these block the available light allowing you to keep the shutter open longer. You will have seen photos where an ND filter is used as they are very popular when taking shots of waterfalls, giving the faller water that “dreamy” look.
ND filters come with different ratings for the amount of density, and you need to buy them to suit your particular camera. There is a range of standard ND lenses you can get from places such as Camera House. NISI make good ones suitable for dSLR and mirrorless cameras depending on your lens thread size, GoPro has a range to suit their cameras and DJI make ND filters for the Action cameras and the various models of drones.
GoPro / DJI OSMO Action
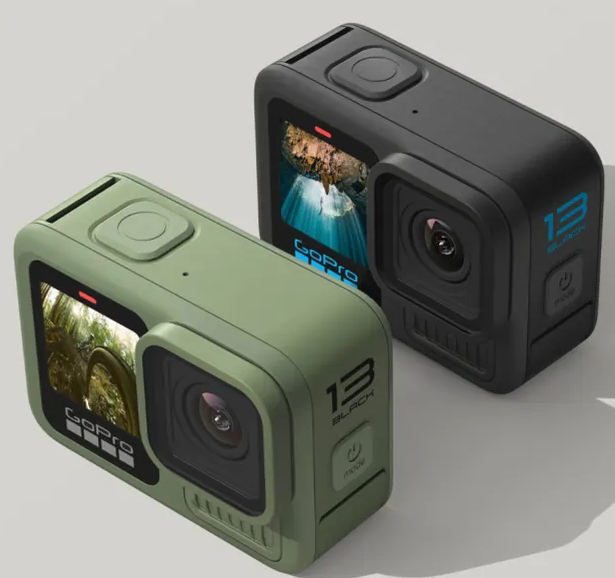
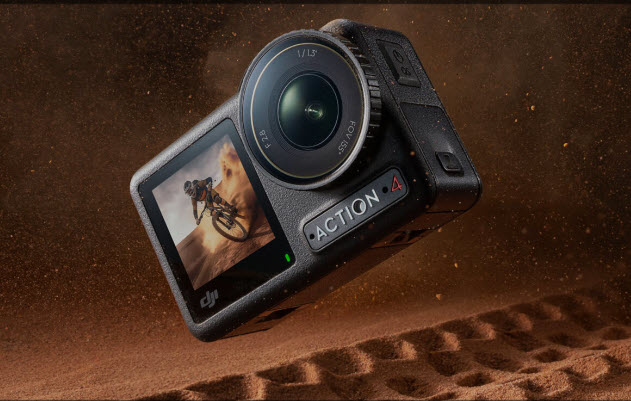
Being designated as “action cameras”, the popular GoPro and its DJI sibling, the DJI Action camera are perfect for shooting Slo-Mo as long as you remember a few things.
I’ll use the GoPro 13 Hero Black as the example here as this is capable of up to 400fps when using the built in Burst Slo-Mo option, albeit with a few trade-offs.
The first of these is at 400fps, you can only shoot in 720p so get correspondingly lower resolution, and have a 15 second time limit plus need to have the lens set to “Narrow” format. If you crank up the resolution to the full 5.3K, you’ll get a max of 120 frames / second with only 5 seconds of footage and need to use the “Wide” lens setting.
To get the best exposure, depending on the available light of course, set the shutter speed to 1/480 first and if that works, try 1/960 but keep your ISO low in both cases if possible at between 100 and 200.
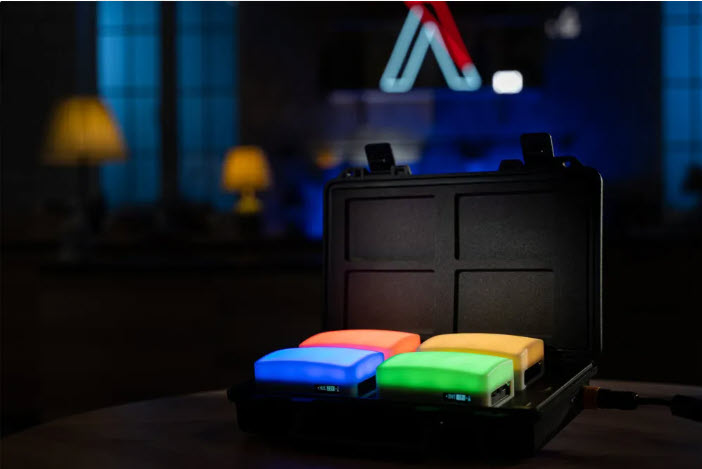
Good lighting makes all the difference no matter what you are shooting so if you can, shoot outside, or make sure your scene is well lit.
For lighting I use either Zhiyun Cinepeers or my AputureMC-4 Travel Lighting Kit.
One thing you may not think of is to turn on stabilisation (such as Hypersmooth). Sure slowing the motion down does smooth things out, but camera shake is still camera shake and can ruin a top shot. Better still, use a tripod or mount and securely lock the camera down.
Similarly, a linear type lens will minimise and distortion, but using a wider lens or lens setting in some circumstances can make for a really cool look. Experiment and see what you like best for any particular environment.
Finally, the doyen of all GoPros= heat. High frame rate + burst equals big files which means both heat and battery drain. If you plan on doing a lot of Slo-Mo, make sure you have enough batteries or use an external powerpack which is even better.
Basic Steps to setup a GoPro Hero 13
- Turn on camera
- Video Mode / Mode Selector
- Find Burst Slo-Mo (if you want 400fps at 720p)
- Set resolution 720fps
- Set ISO to 400
Of course, play around with actual numbers depending on the available light, subject matter and so on, and practice, practice, practice!