
There is no way I would even attempt to explain or teach the magic of colour grading. I’m still just learning the basics myself.
But I thought a quick example of what can be done might be interesting and maybe lead readers to also further investigate this path in an aim to make better looking footage.
I recently tested the new DJI 360 II camera – you can read the review here – and after watching a few videos on using Log format files to give you more control over the final colour output, set the camera to shoot in D-Log M after putting the camera in Pro mode.
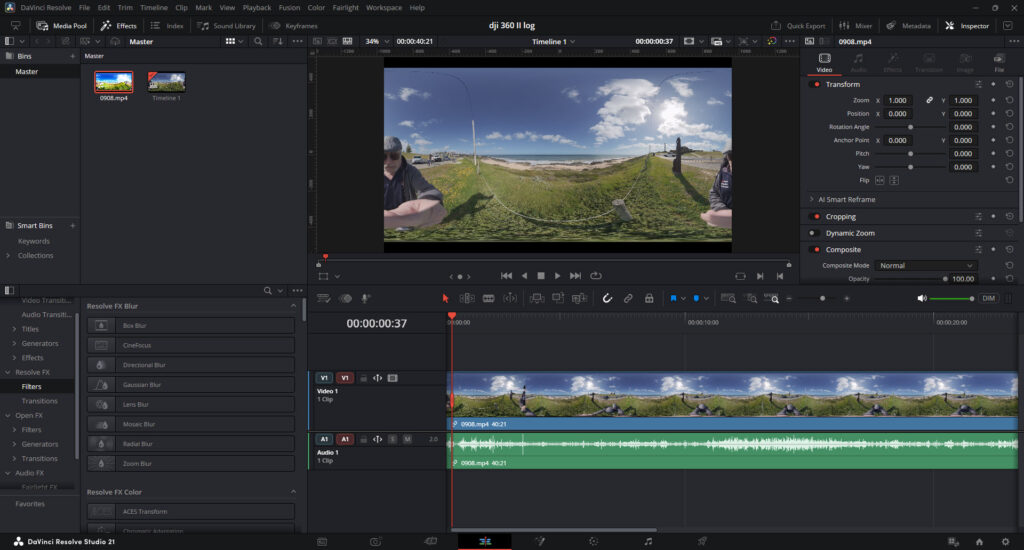
Image 1 is the resultant footage, and as you can see it looks a trifle on the dull side.
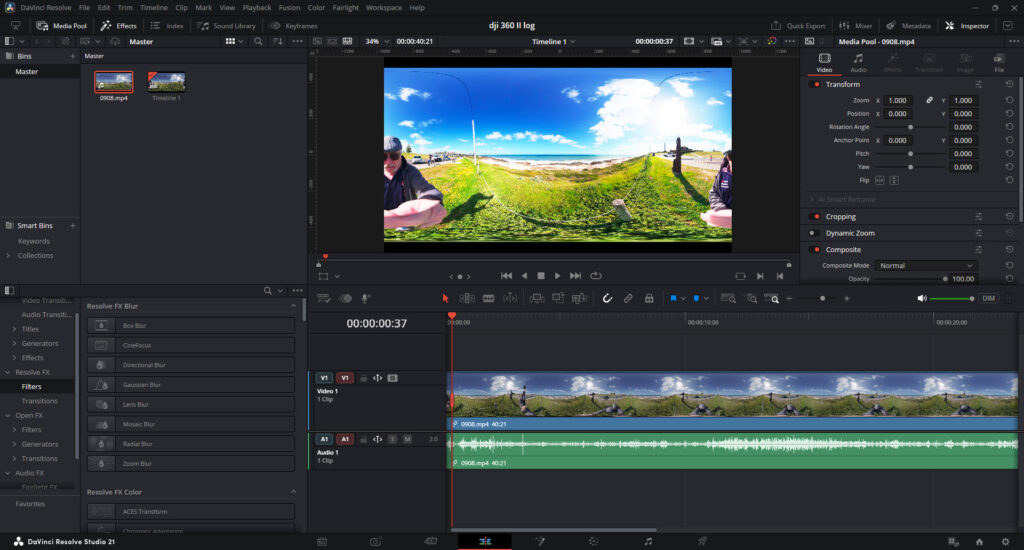
However, after going into the menus of DaVinci Resolve as per my story here, and setting the input and output colour spaces correctly, this is the result (Image 2).
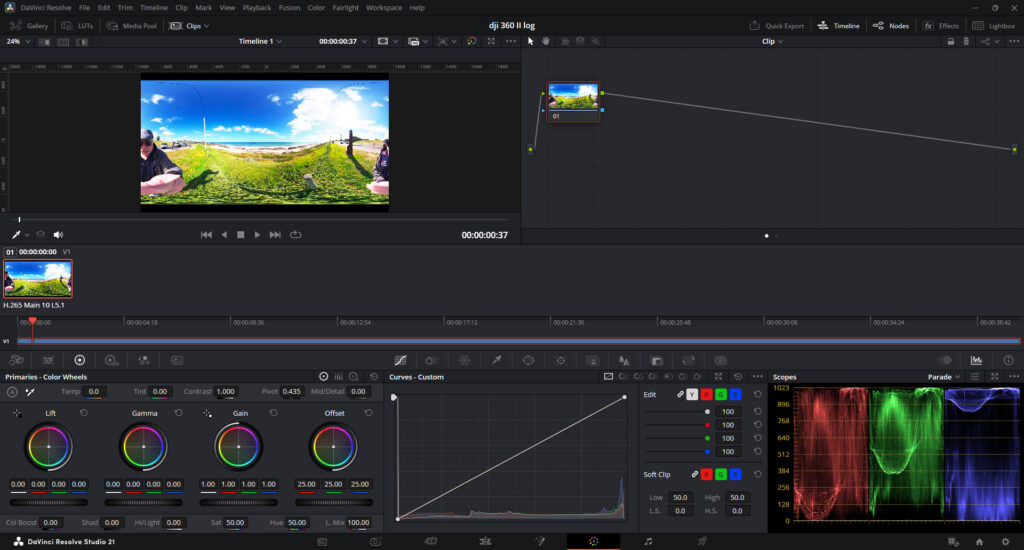
Now I can go into the DaVinci Resolve Colour Page and play around with the controls to get just the look I want.
I haven’t yet watched it, but with nearly ½ million views it suggests this video is a good one to watch if you are new to the DaVinci Resolve Colour Page.